Connectors
Connect the workspace to SQL databases and MCP tool servers so the assistant can query live data and call external tools during a chat.
A connector links your workspace to something the assistant can reach at the moment somebody asks a question — as opposed to files and knowledge sources, which are indexed ahead of time. There are two kinds today:
- a database connection, which lets the assistant run read-only queries against a PostgreSQL or ClickHouse database and answer from the rows it gets back
- an MCP server, which exposes a set of tools (over the Model Context Protocol) that the assistant can call while it works
Both are registered once by an admin, then picked per conversation from the Connectors control in the chat composer.
Prerequisites
- Workspace admin or owner. Managing connectors needs the
connector:managepermission — without it the page shows Connectors are restricted to admins and owners. - For a database: a connection string, ideally for a read-only user, and a database the workspace's server can actually reach over the network.
- For an MCP server: the server's HTTP endpoint URL.
Open the Connectors page
-
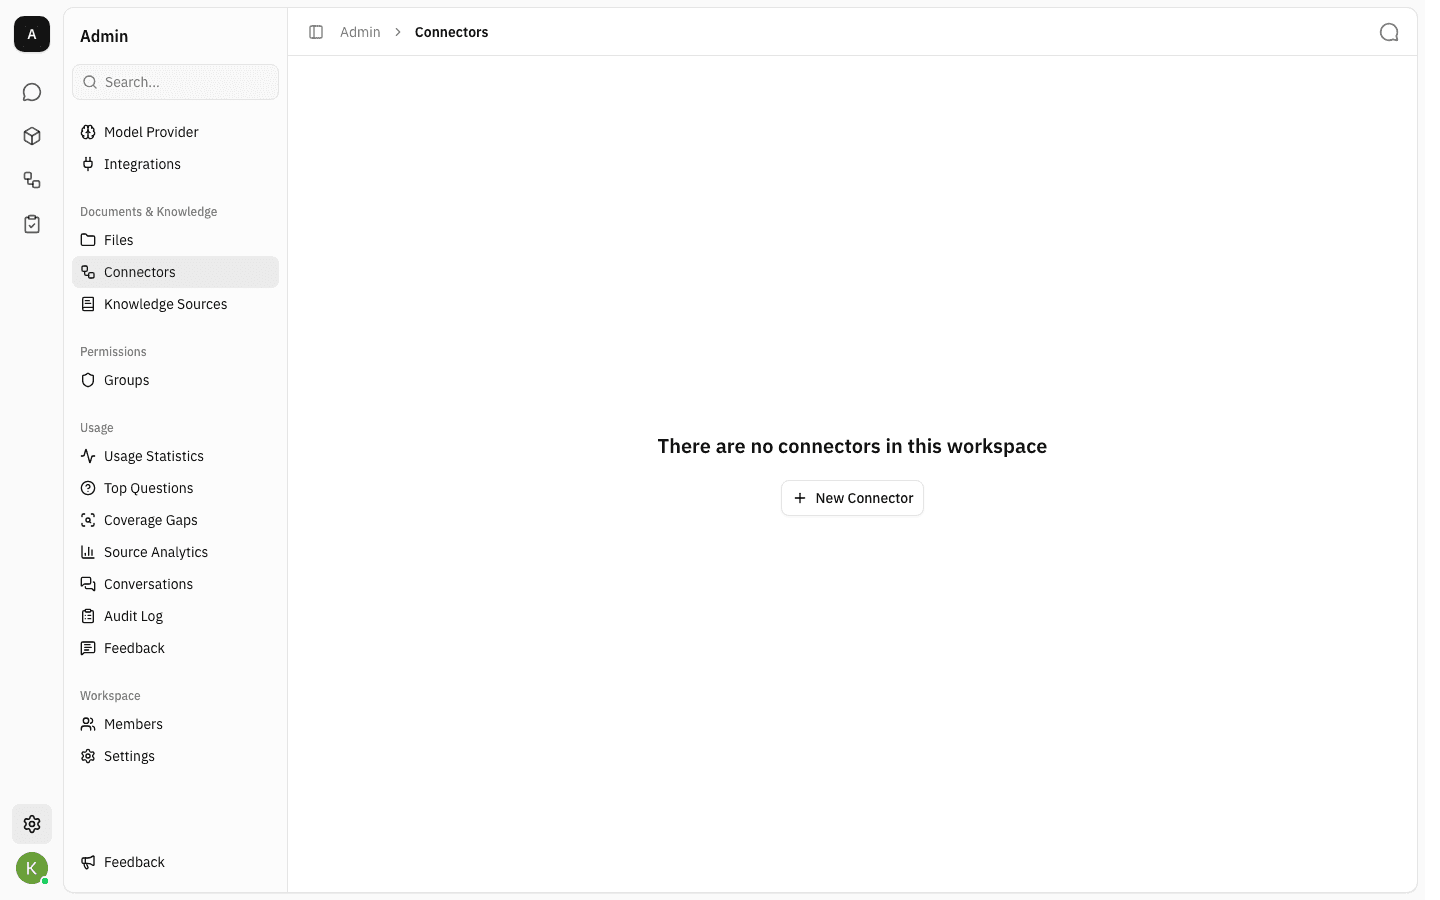
In the sidebar, open Admin, then Connectors under Documents & Knowledge. A workspace with nothing connected yet shows an empty state with a single New Connector button.
-
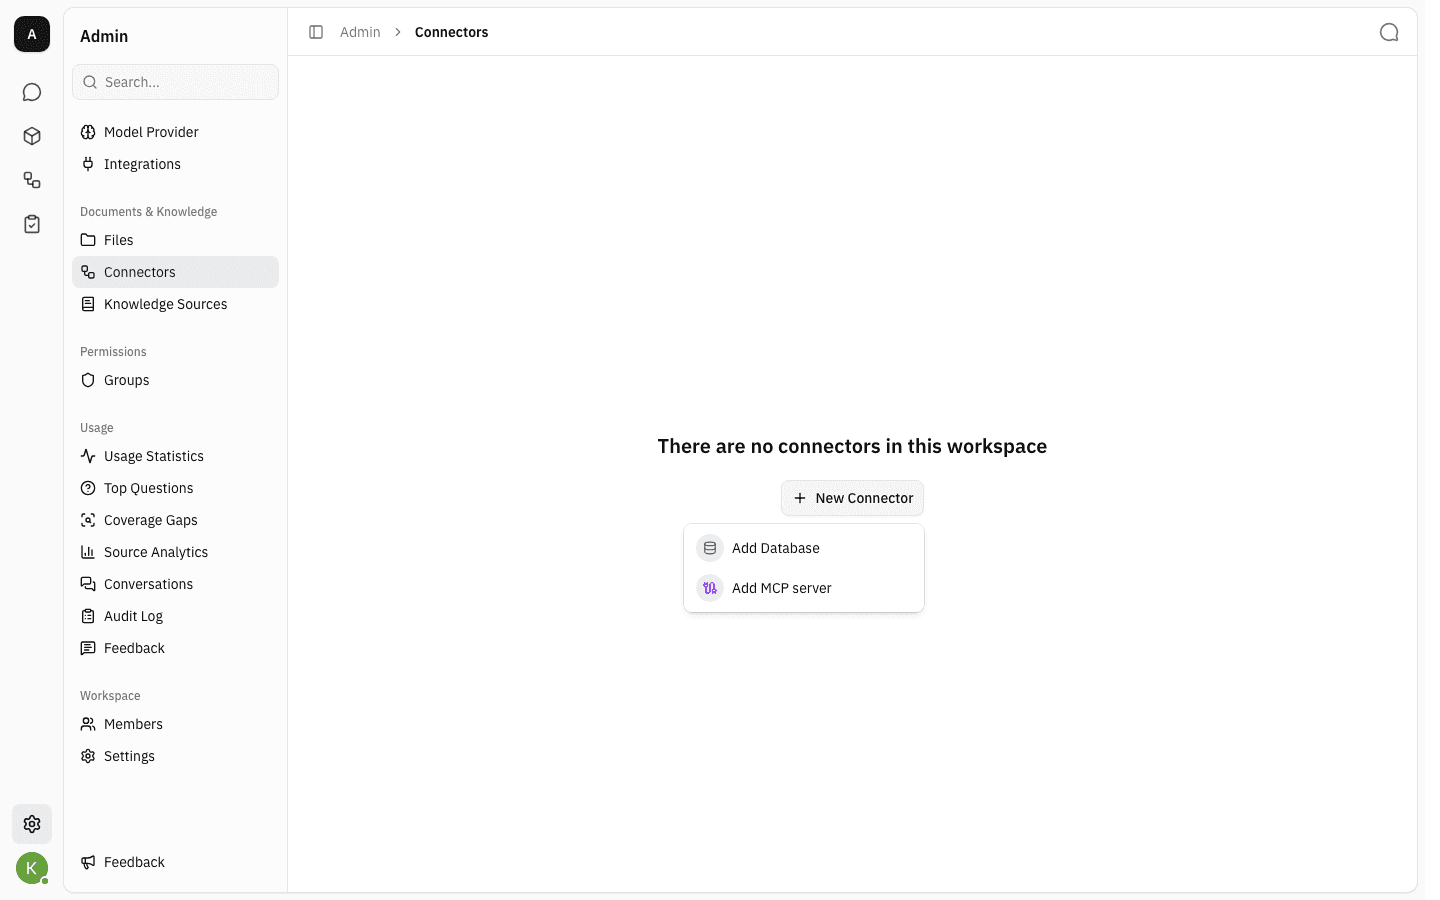
New Connector always offers the same two choices: Add Database and Add MCP server.
Connect a database
-
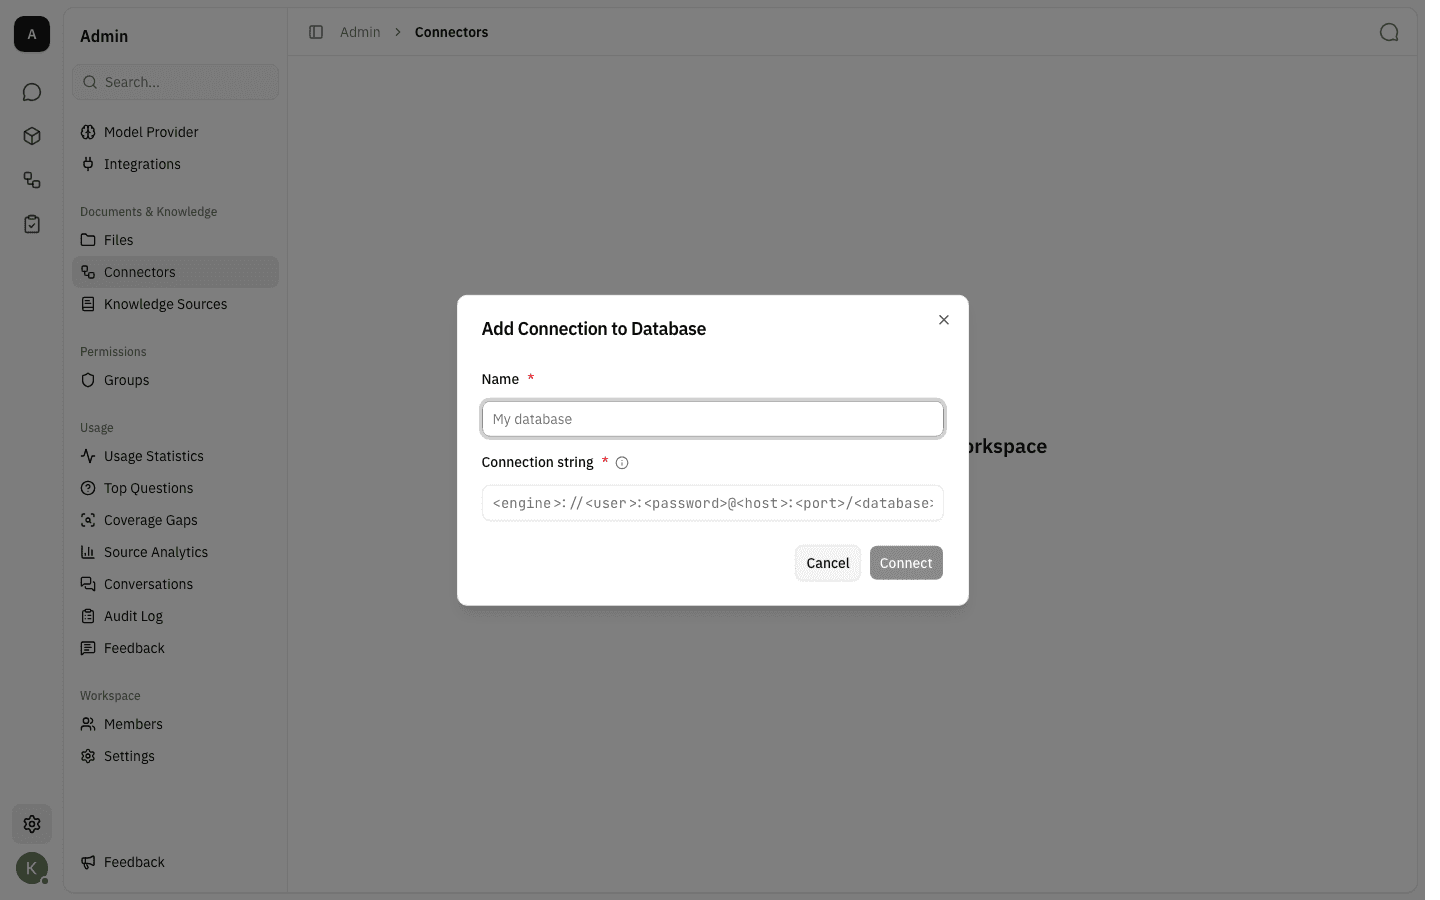
Choose Add Database. The dialog asks for just two things to start: a Name — a label used in this list and in the chat picker — and the Connection string.
-
Paste the connection string in the usual URI form,
<engine>://<user>:<password>@<host>:<port>/<database>. The engine is detected from the scheme, sopostgres://andpostgresql://give you a PostgreSQL connector, andclickhouse://,http://orhttps://give you a ClickHouse one.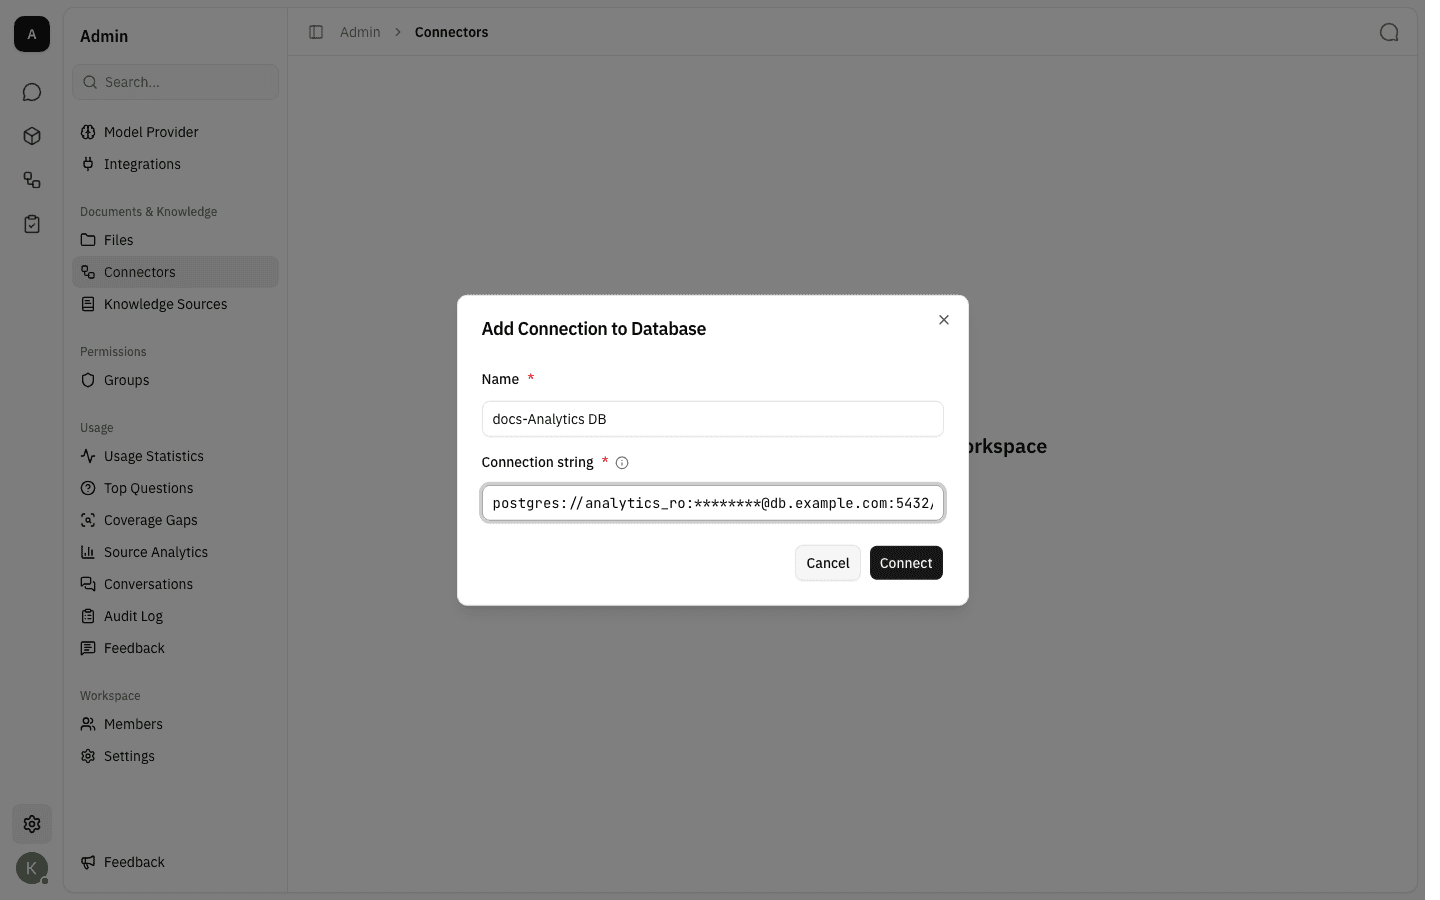
-
Click Connect. The workspace opens a real connection before saving anything, so a wrong host, a wrong password or an unreachable port stops the save and says which of those it was. Your input is kept so you can correct it and try again.
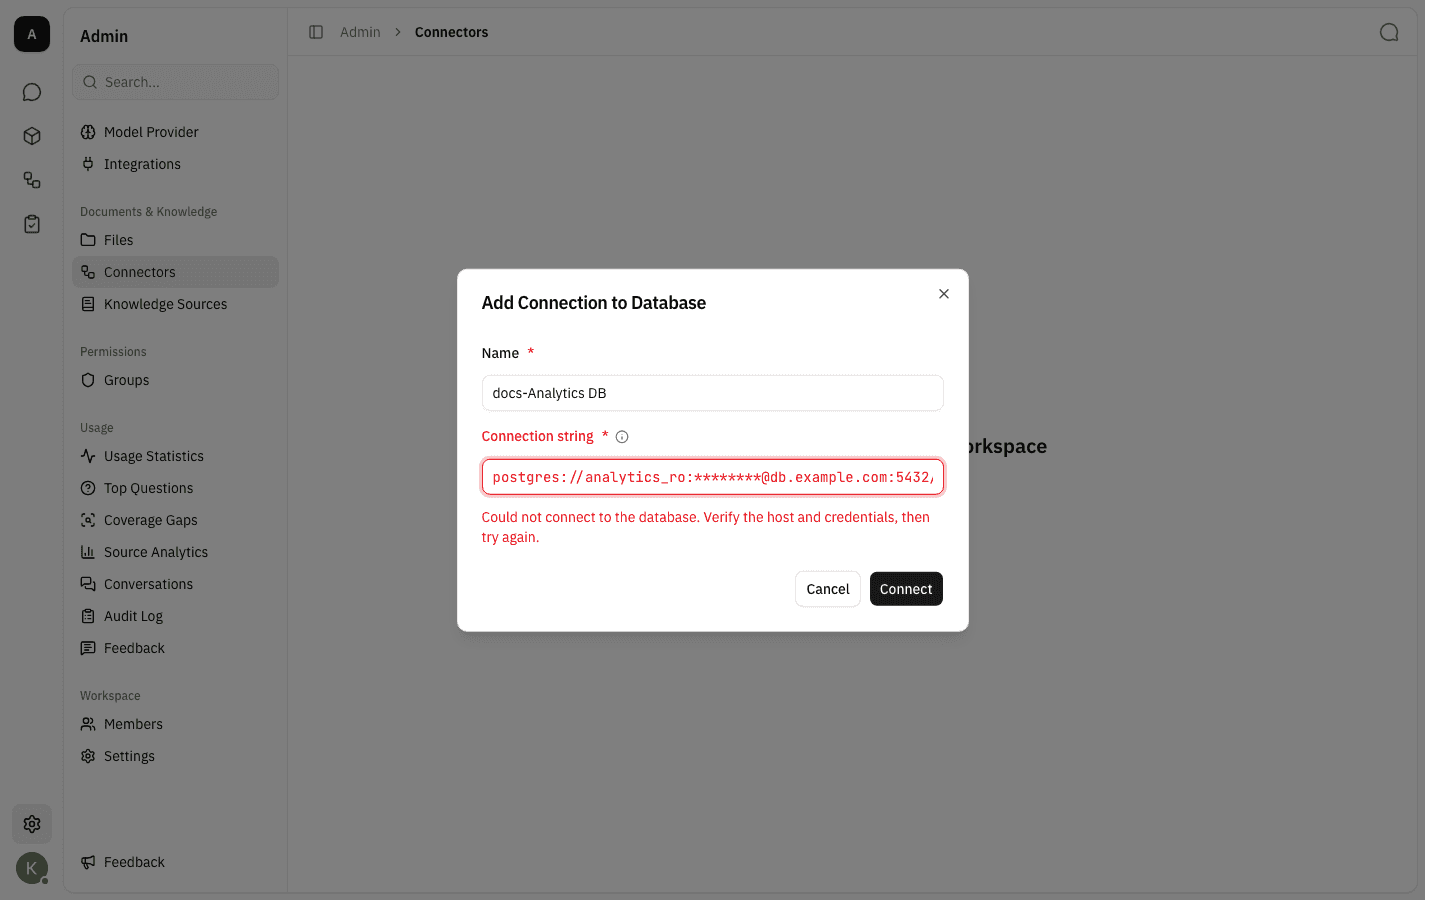
-
When the connection succeeds, the two fields lock and a green Connection verified banner appears. Use Edit connection if you need to change the string again.
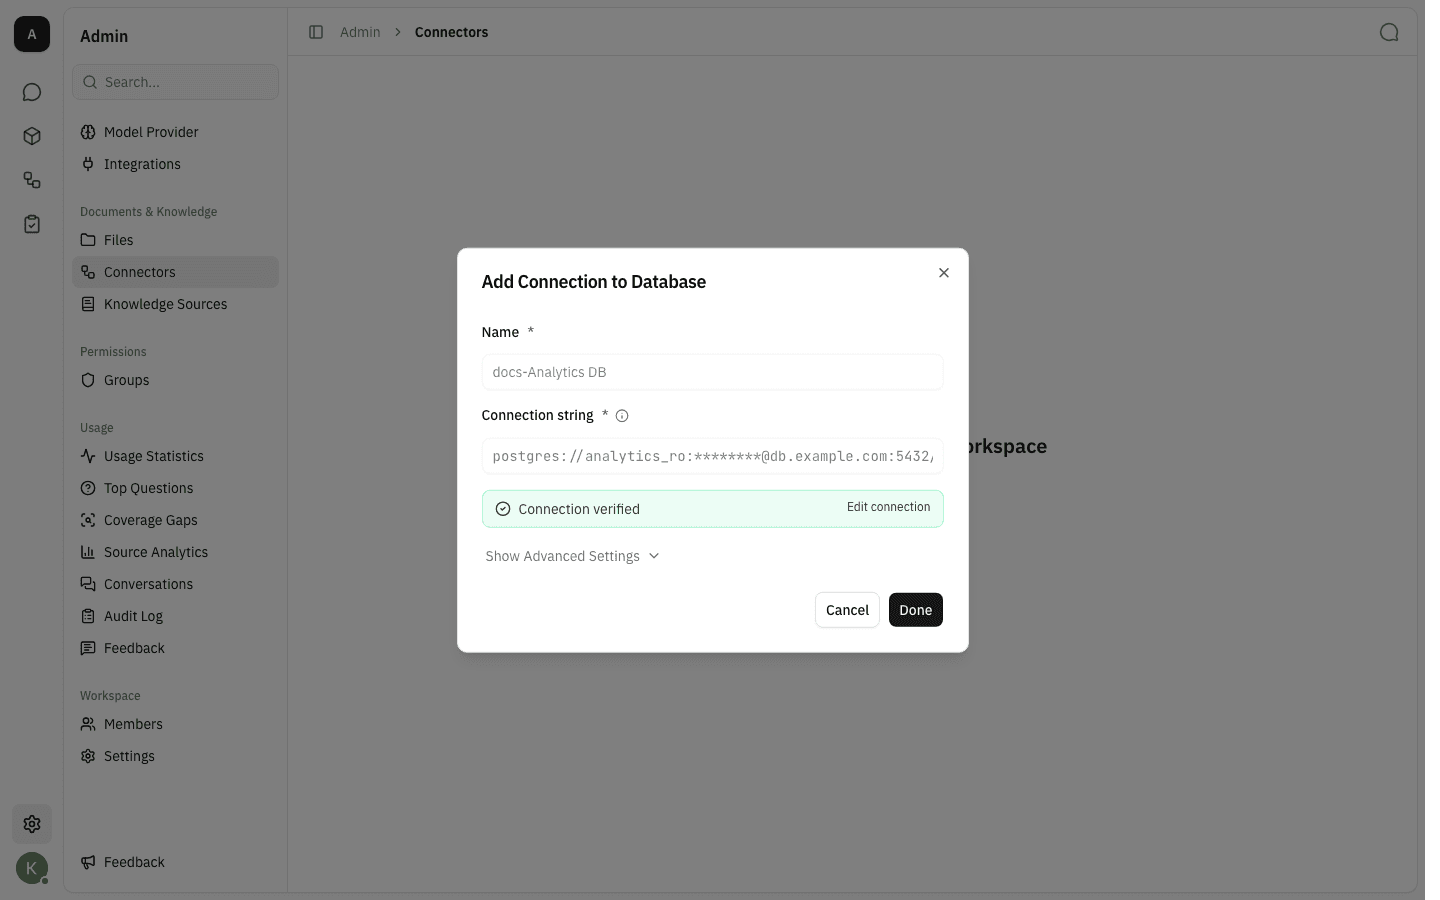
-
Show Advanced Settings is optional but worth filling in — both fields help the assistant pick the right tables. Database Schemas narrows it to a comma-separated list of schemas (leave blank for all), and Description tells it in plain words what this database holds.
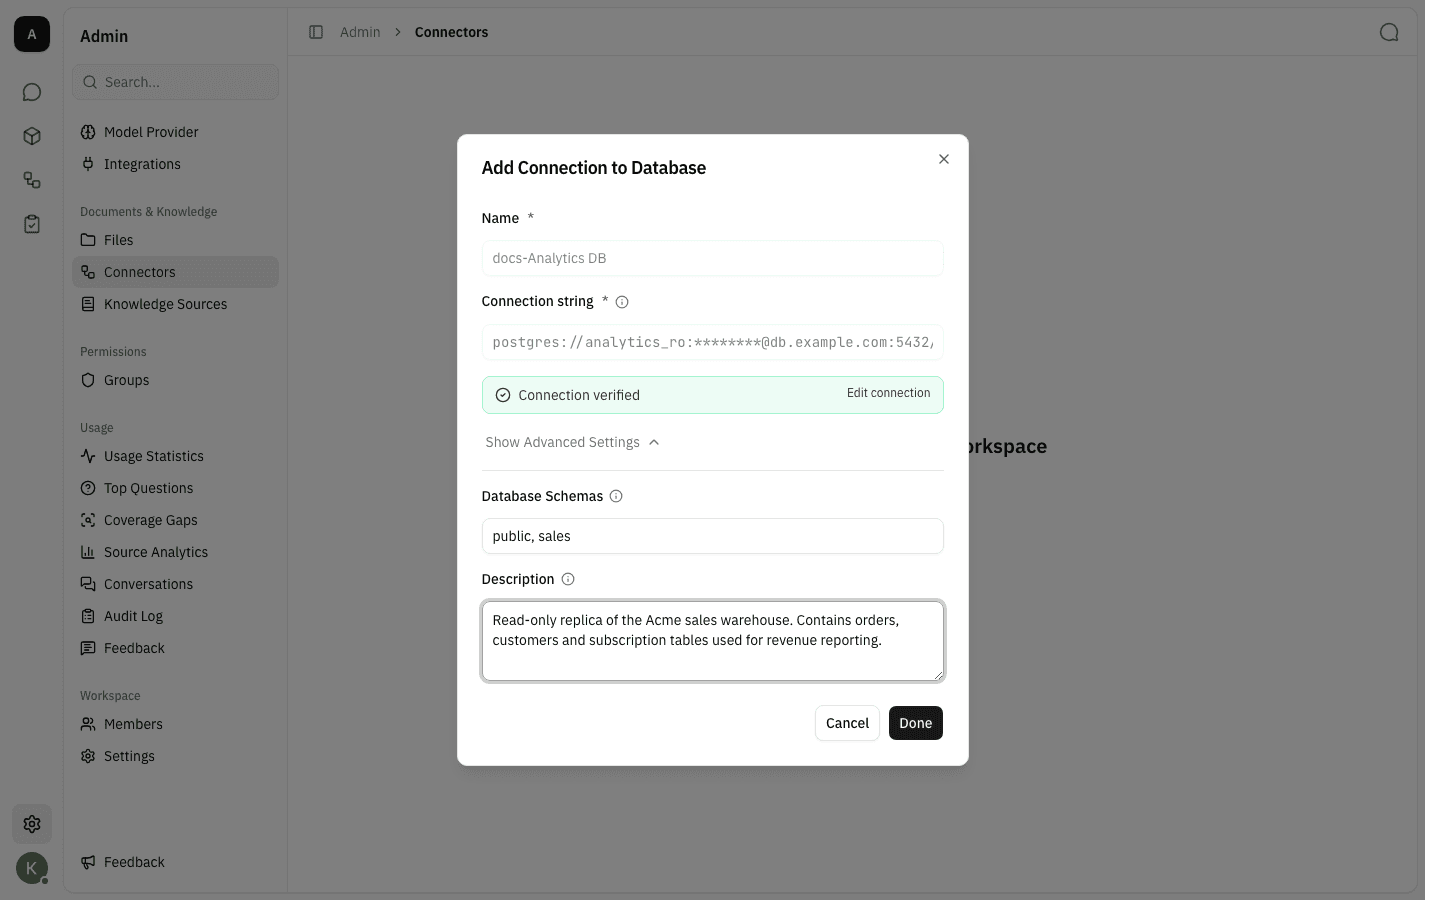
-
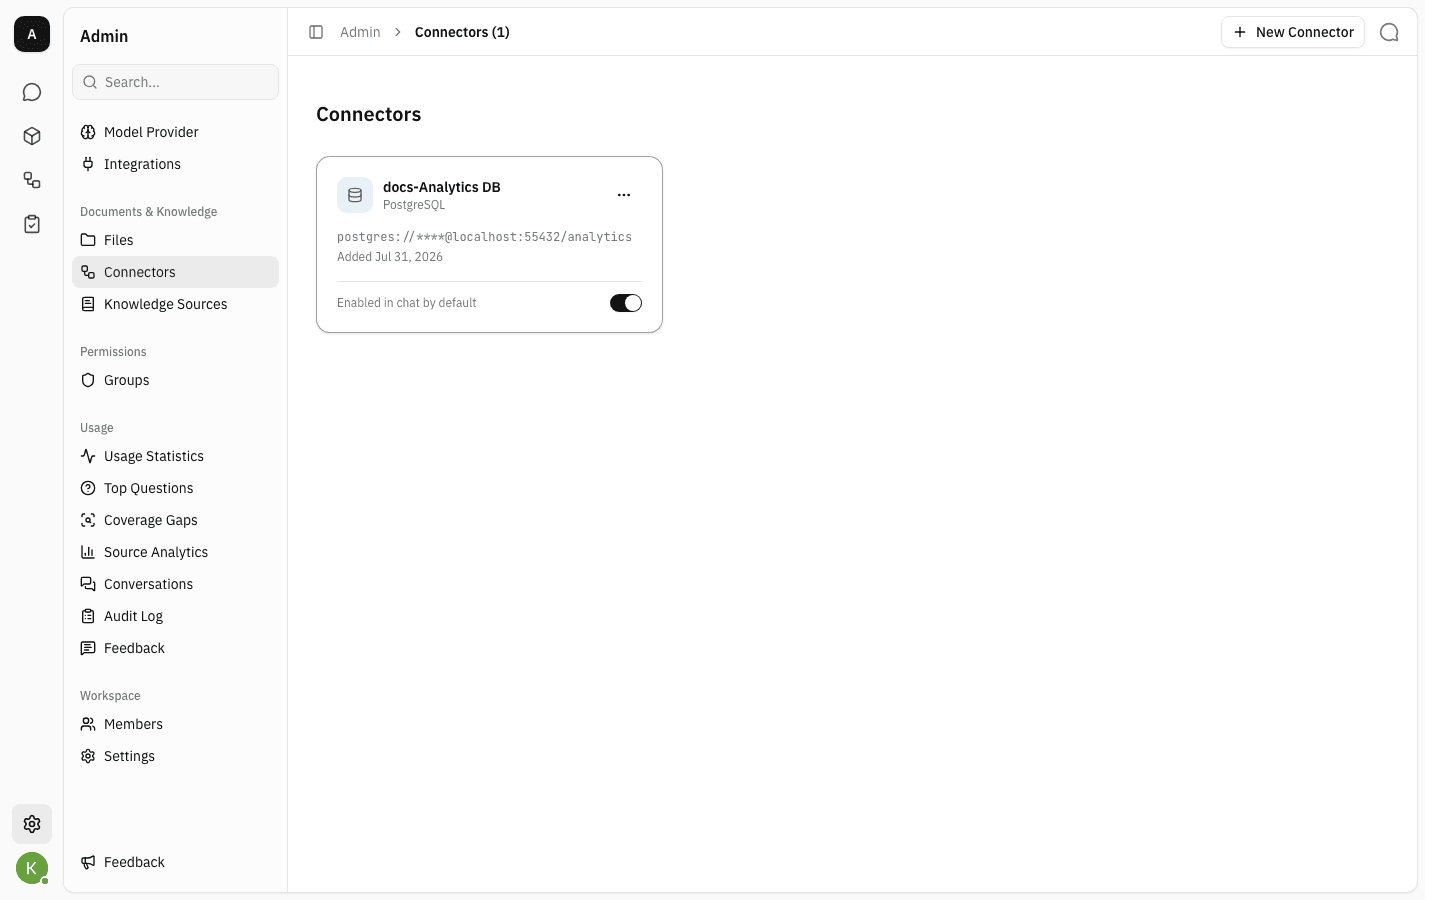
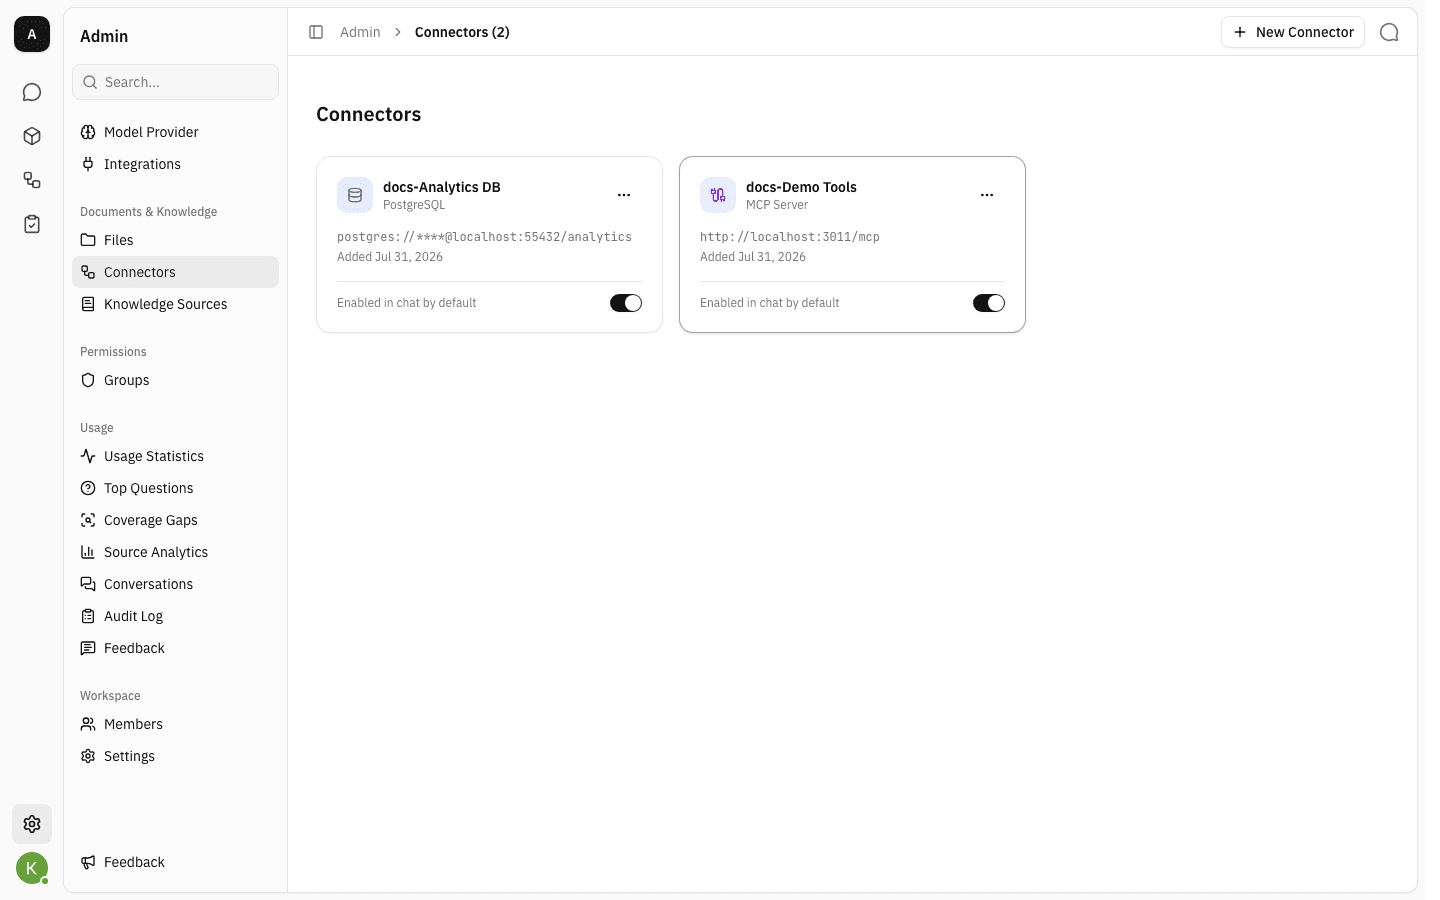
Click Done. The connector appears as a card showing the engine, a masked connection hint — the username and password are never displayed again — and the date it was added.
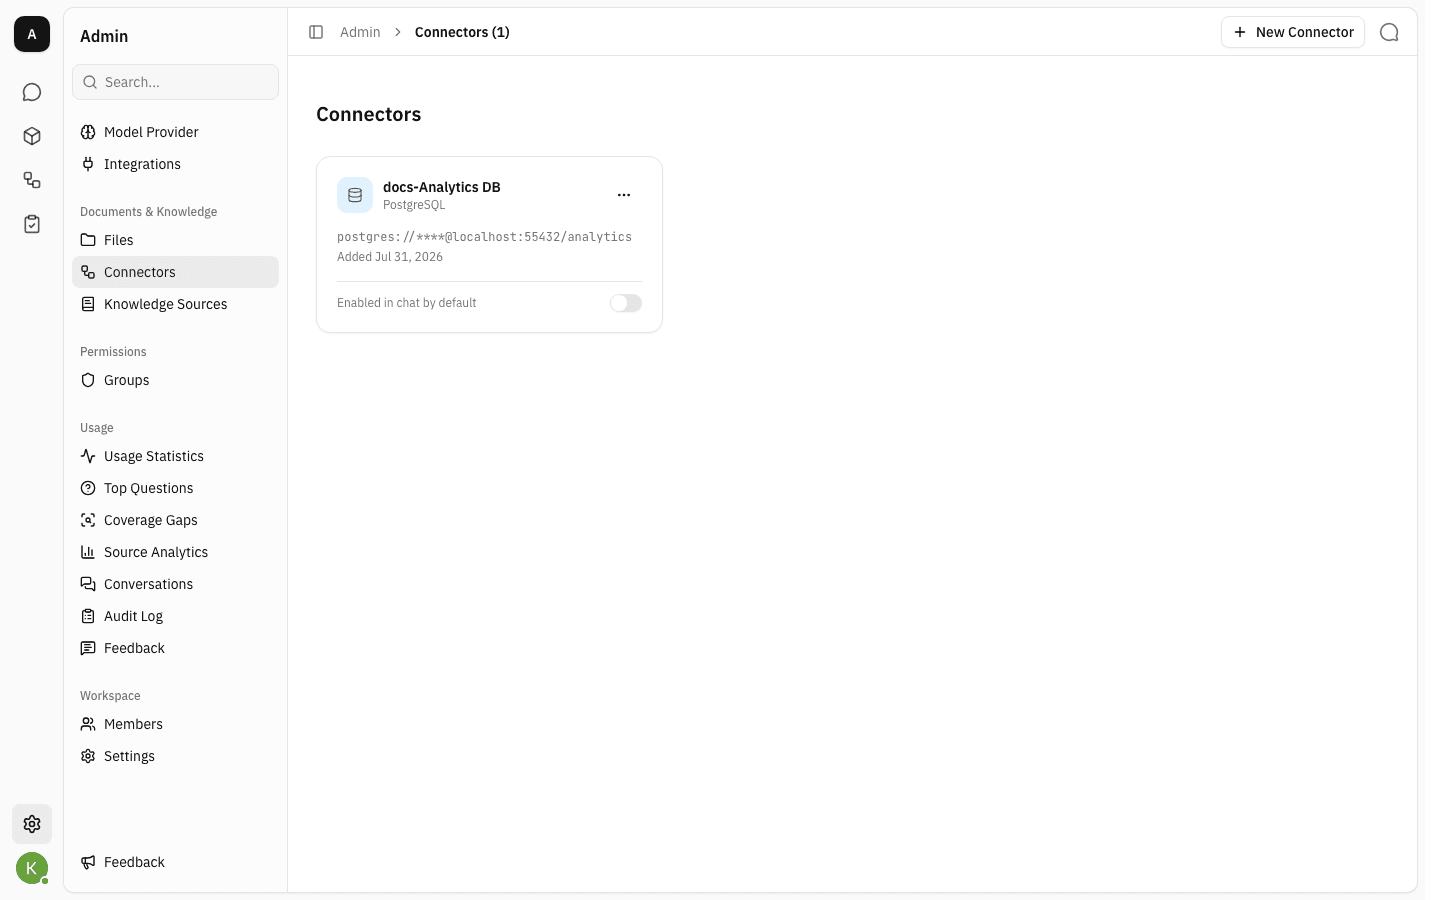
-
A new connector starts off for chat. Switch Enabled in chat by default on to have it pre-selected in every new conversation; leave it off and people have to pick it themselves each time.
Connect an MCP server
-
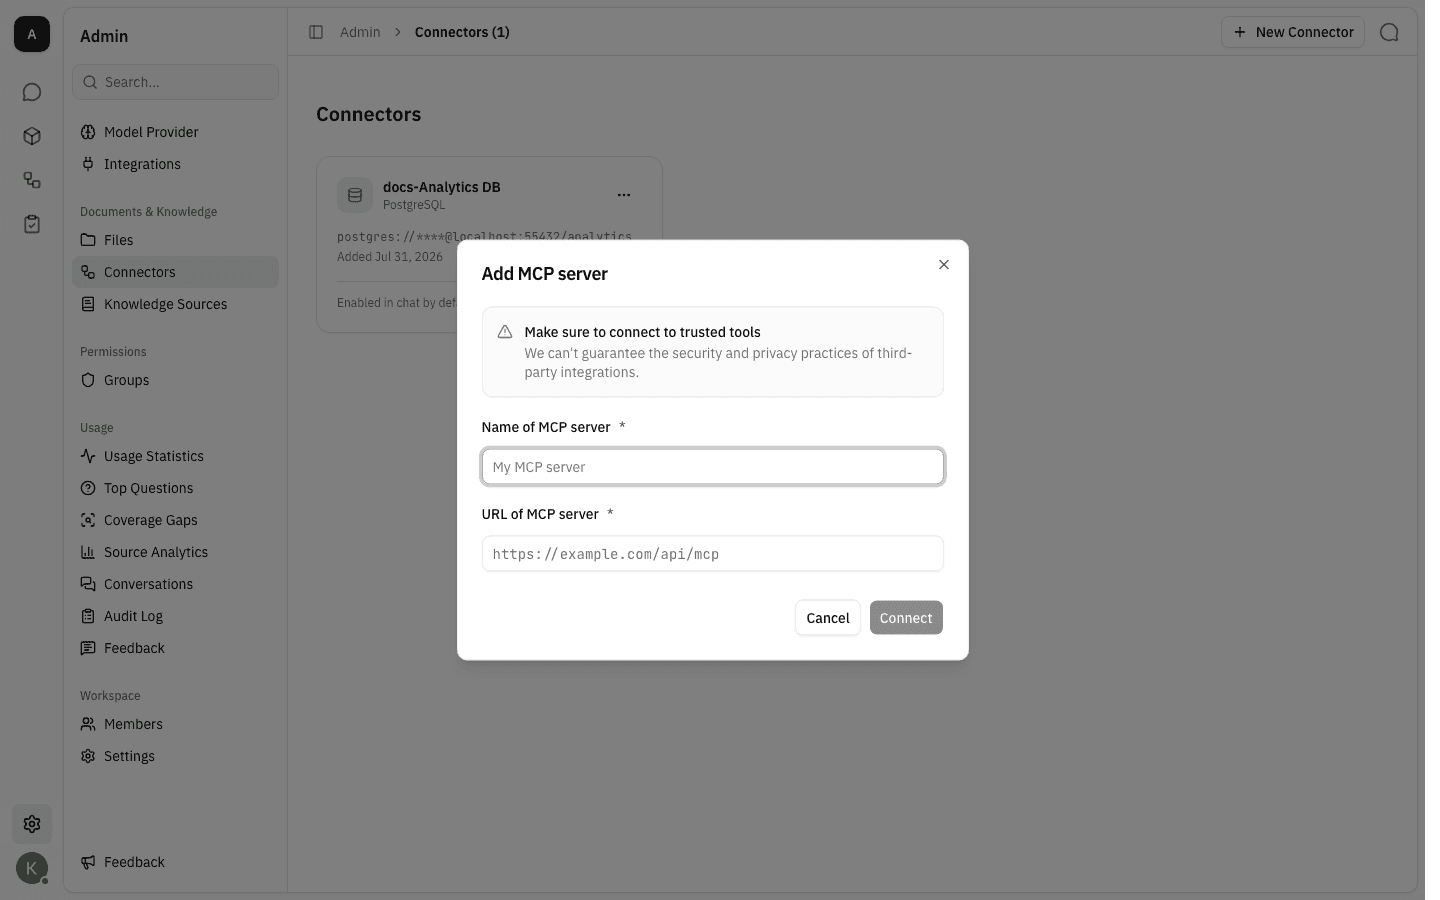
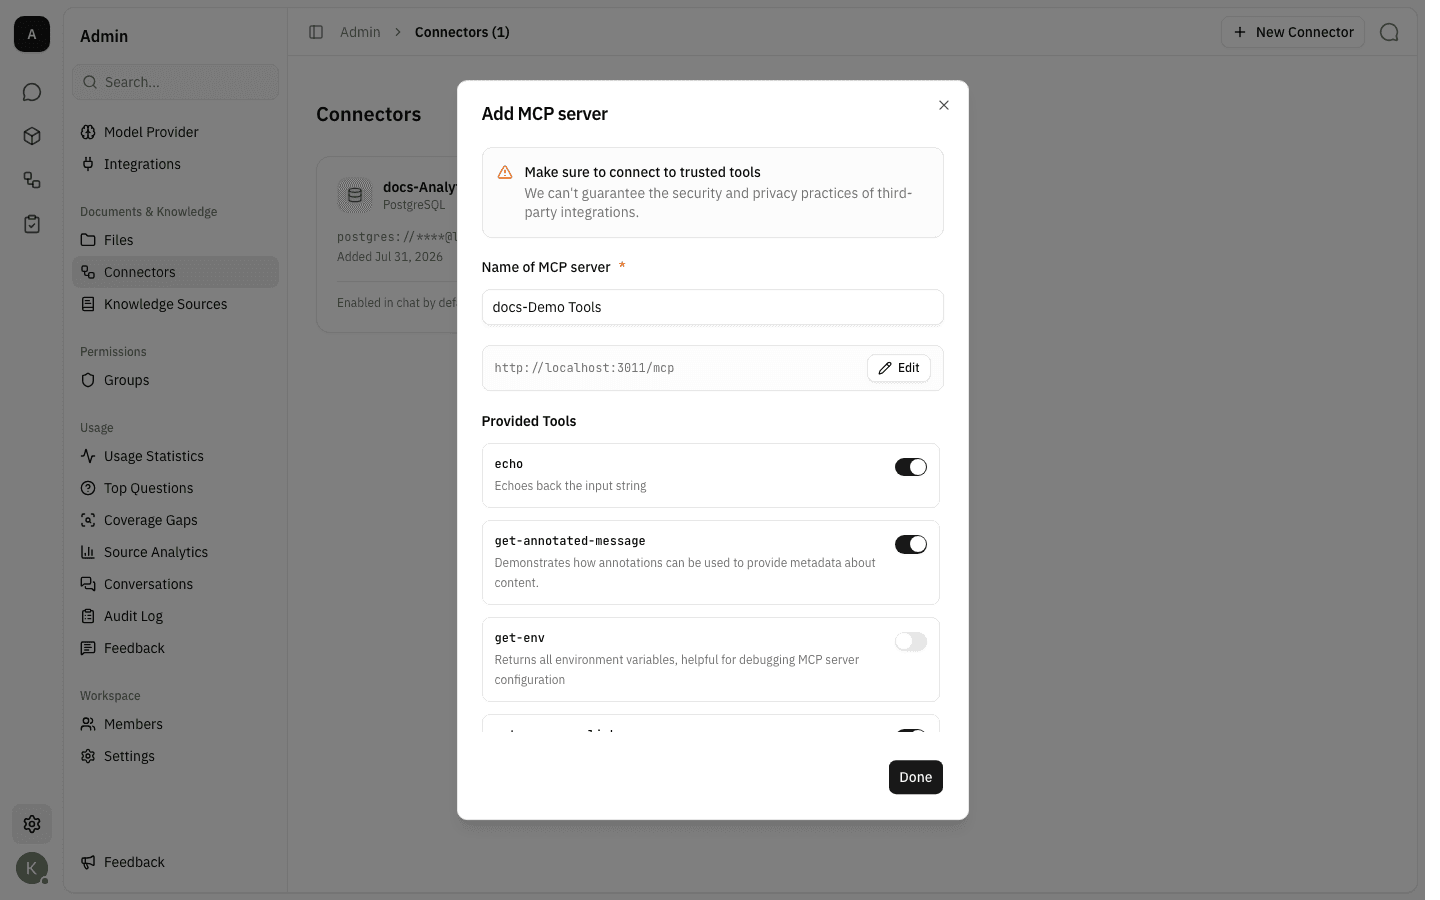
Choose New Connector → Add MCP server. The dialog opens with a reminder that an MCP server can do whatever its tools allow, so only connect servers you trust.
-
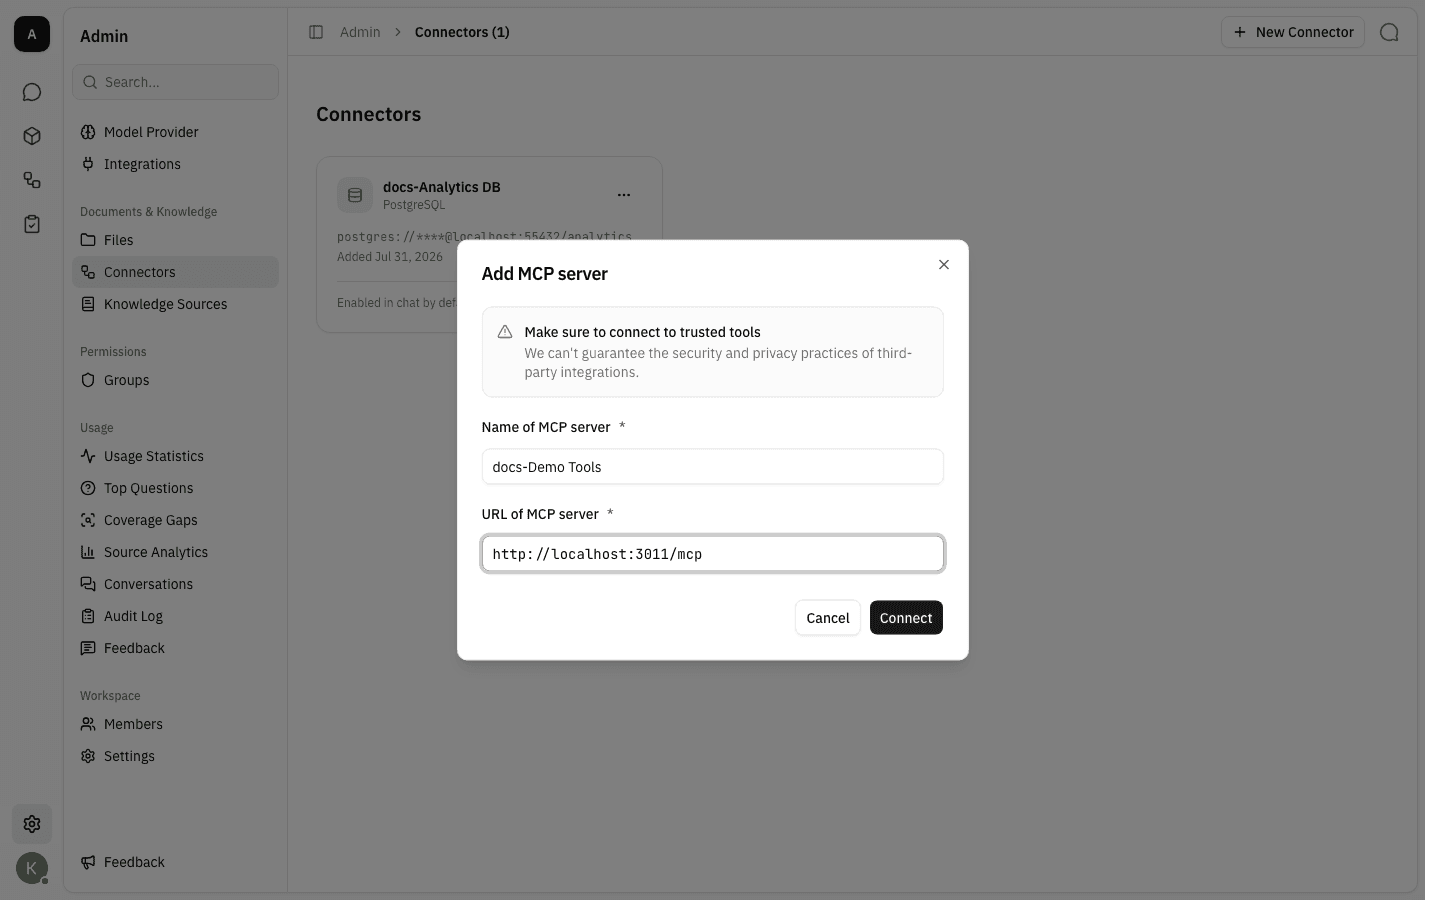
Give the server a Name and its URL — the HTTP endpoint the server listens on, not its homepage.
-
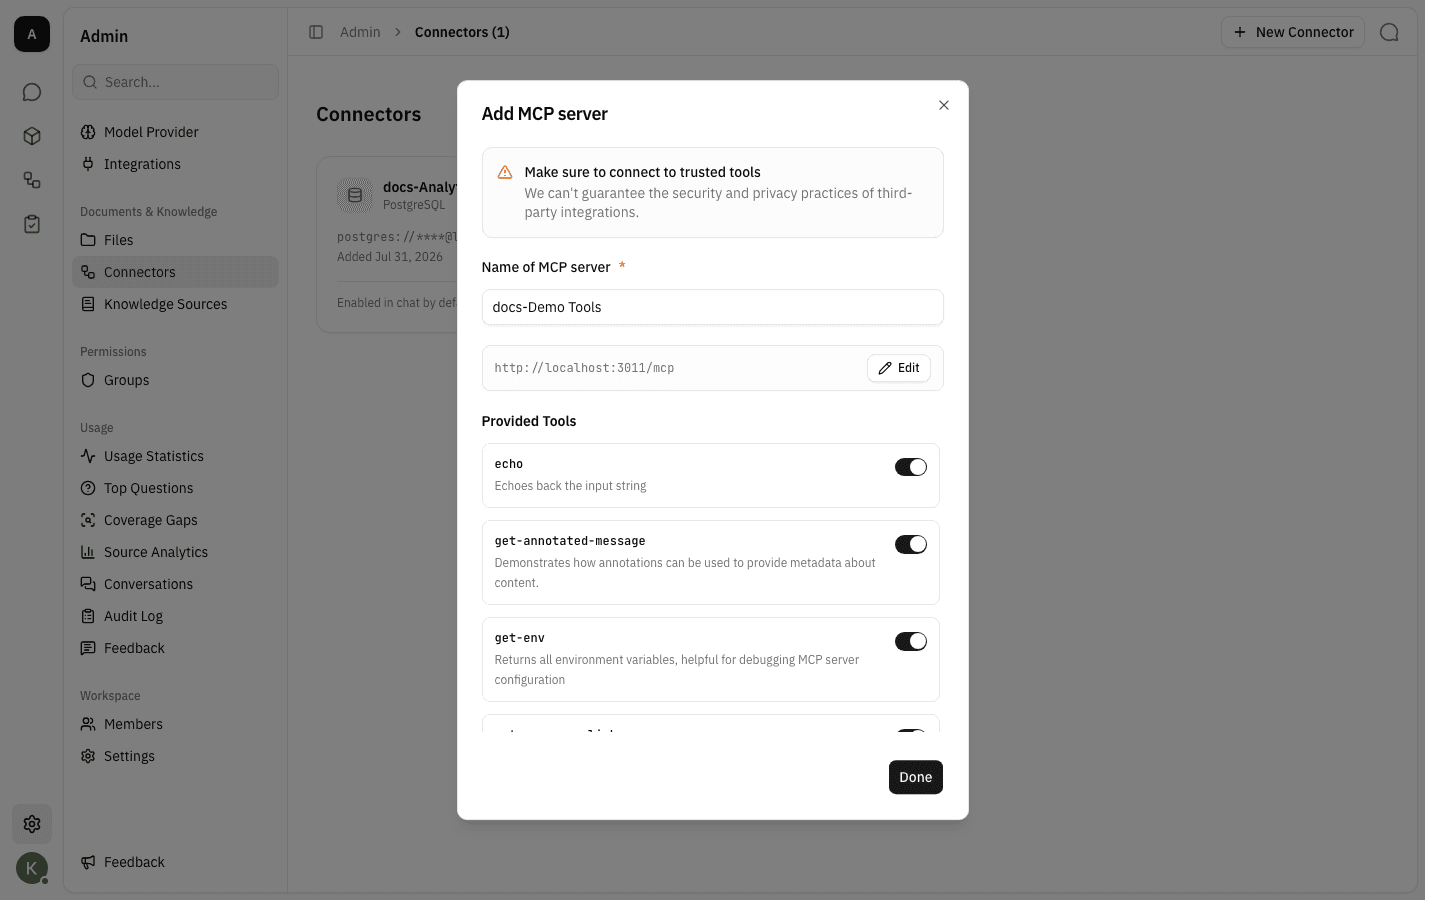
Click Connect. The workspace handshakes with the server and lists every tool it advertises under Provided Tools, each with its description and its own switch. All of them start enabled.
-
Switch off any tool the assistant should not be allowed to call. Disabled tools stay listed but are never offered to the model.
-
Click Done. The MCP server joins the same grid as the databases, with the same Enabled in chat by default switch.
Use a connector in chat
-
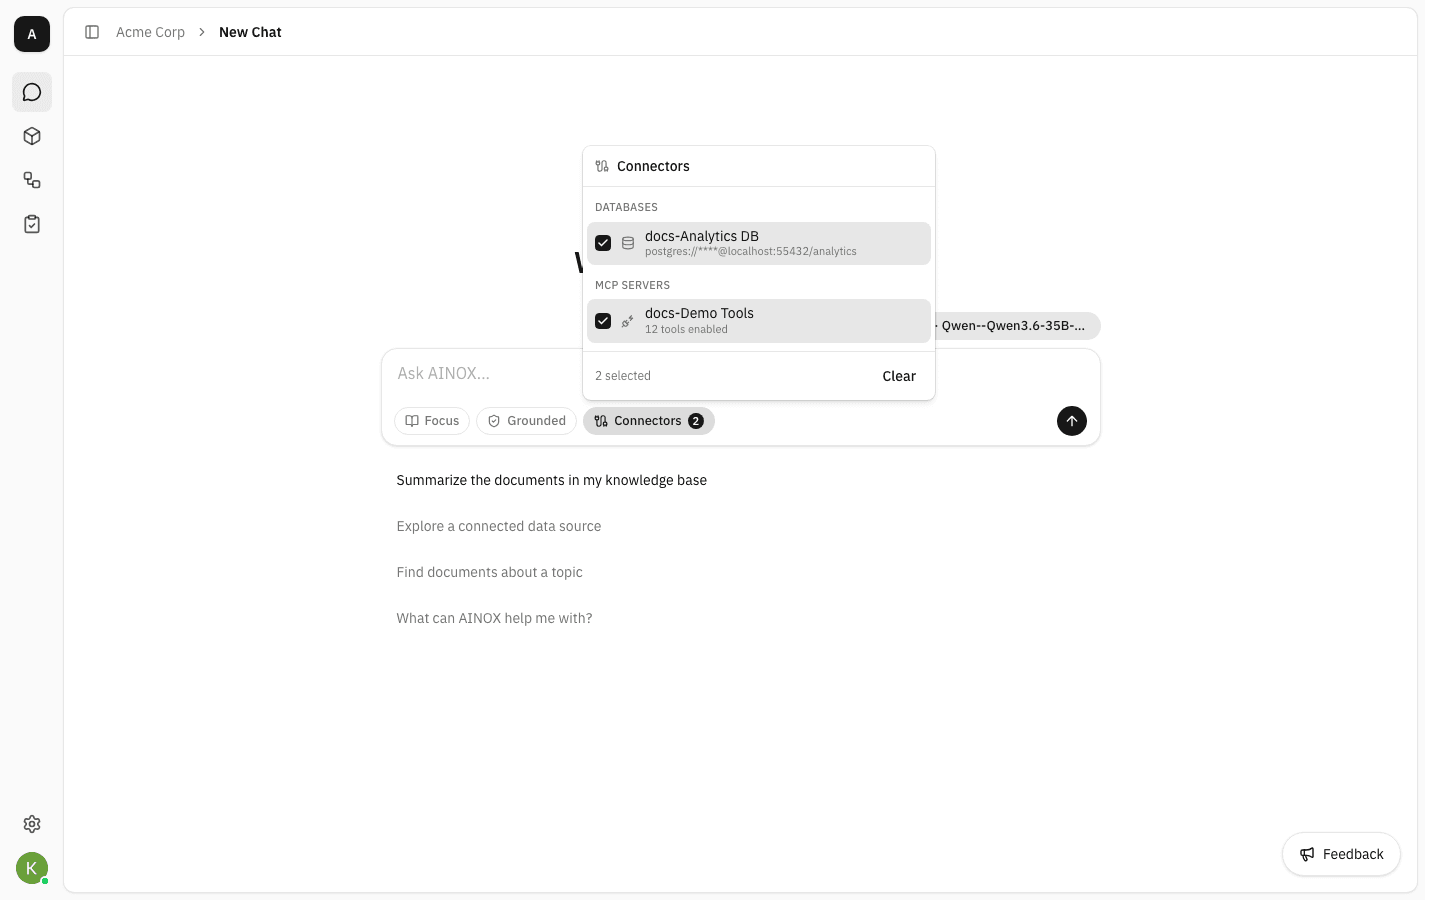
In the chat composer, the Connectors button opens a picker grouped into Databases and MCP servers. Anything marked Enabled in chat by default is already ticked; tick or untick whatever this particular question needs, or use Clear to start from nothing. Each MCP server shows how many of its tools are currently enabled.
Edit or remove a connector
-
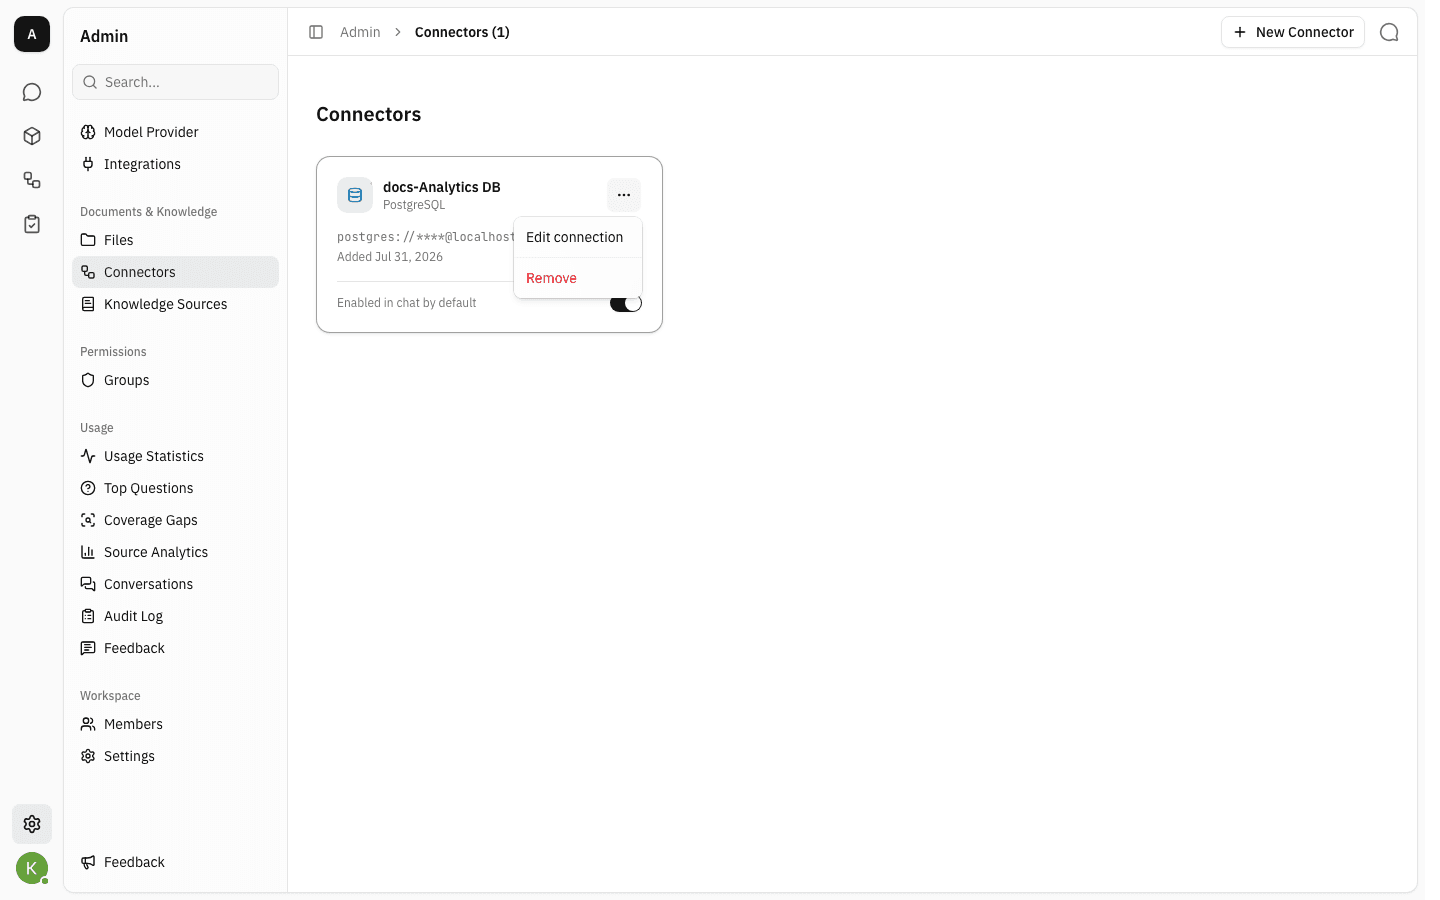
The … menu on a card holds the two management actions.
-
Edit connection reopens the details. The connection string comes back empty with the masked hint as its placeholder — leave it alone to keep the stored credentials, or type a new string, which is re-tested before it saves. The name, schemas and description can be changed on their own with Save changes.
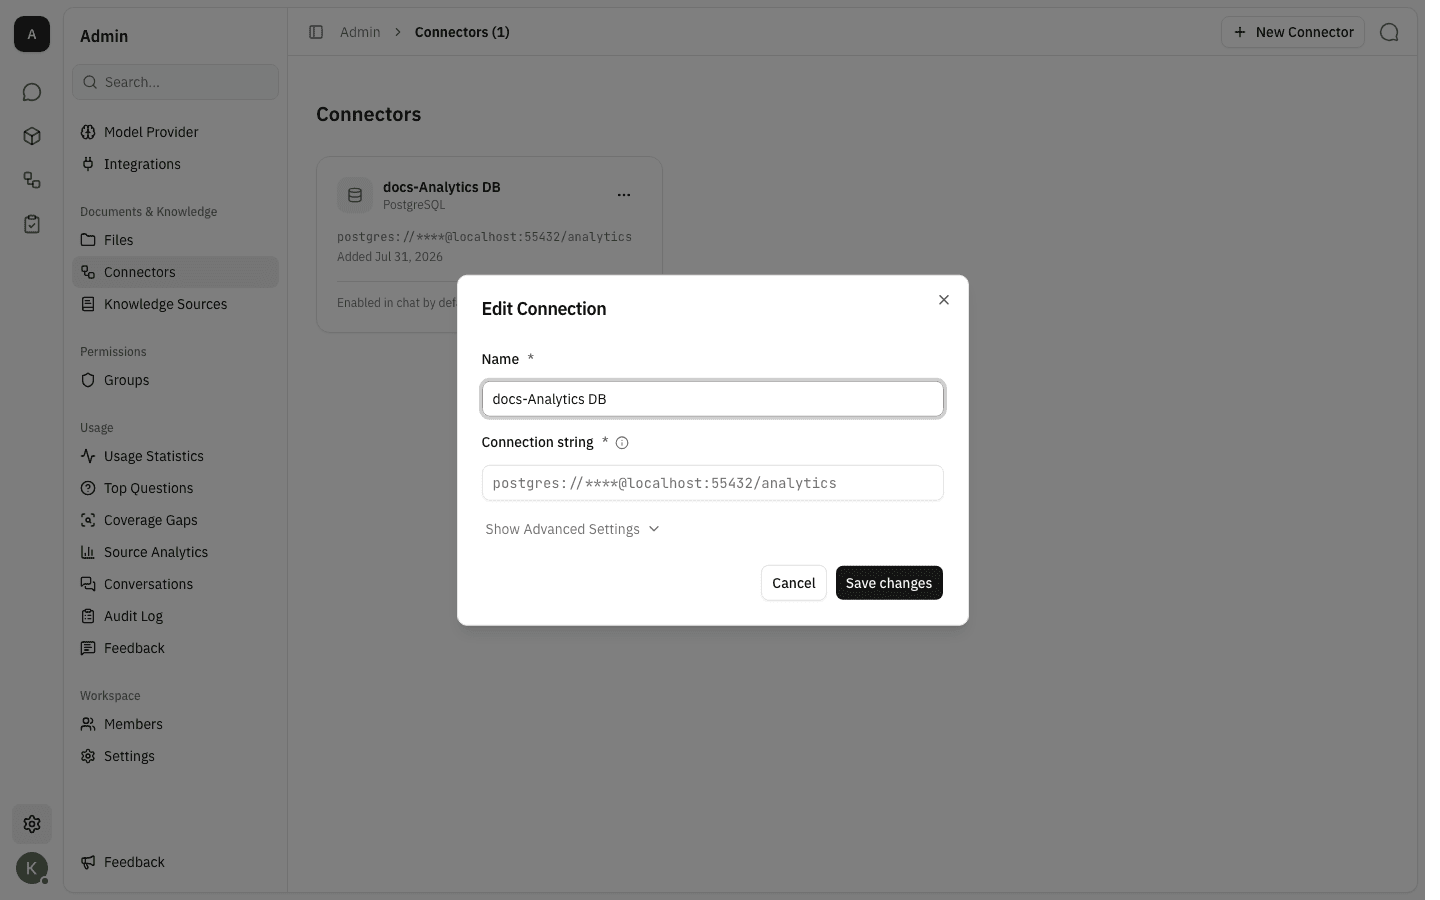
-
Remove asks for confirmation and names what is about to go. Removing a connector also disconnects it from every conversation that was using it.
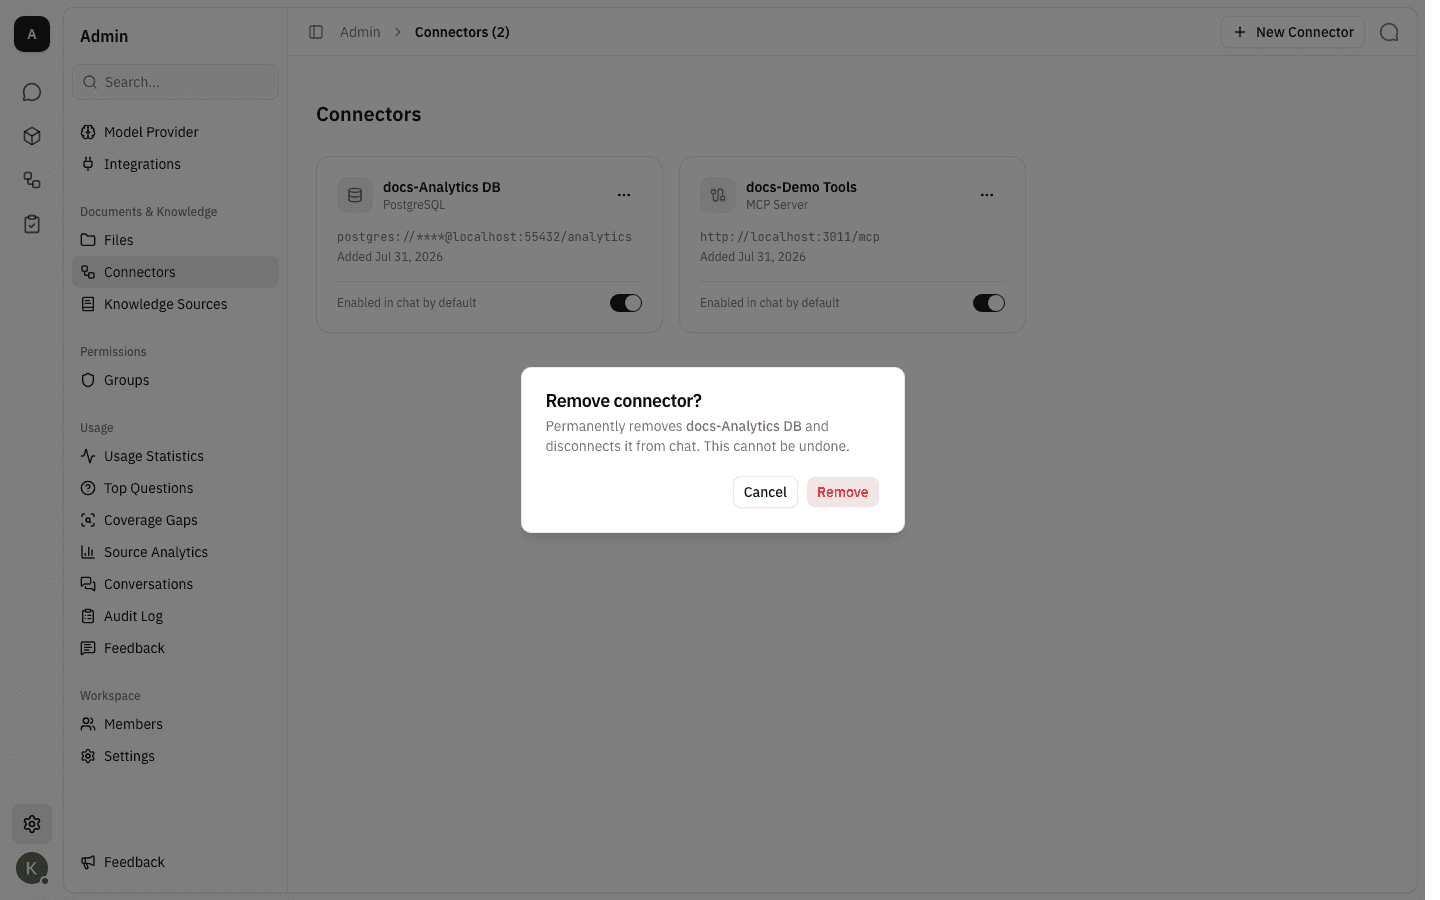
Notes
- Credentials are encrypted before they are stored and are never shown again —
the card and the edit dialog only ever display a hint like
postgres://****@host:port/database. - Database access is read-only. The assistant can query, but nothing it does through a connector can change your data.
- A workspace has a limit on how many database connections it can hold; once you hit it, the add dialog says so and you have to remove one first.
- Connector names must be unique inside a workspace.
Model access
Decide which of the workspace's language models each project may call, set the baseline for workspace chat, and answer the requests members file for models they cannot reach.
Integrations
Connect a Slack workspace so the assistant can answer questions in Slack channels, threads and DMs using this workspace's knowledge.