Project members & roles
Control who can open a project by adding workspace members to it, hand the project over to someone else, and remove access when it is no longer needed.
A project is only visible to the people on its member list. Members is where that list lives: you add workspace teammates to the project, see the role each one holds, see which project groups they belong to, hand the project over to a new owner, and take access away again.
Every project has exactly one Owner — the person who created it — and any number of Members. Owner and Member are roles on the project, not groups: a role decides whether you can hand the project on or delete it, while a project group decides what you may actually do with the project's files.
Prerequisites
- You must already be on the project (or be a workspace owner or admin, who can see every project) to open its Members page at all.
- Adding someone needs the project's add members permission. The project owner has it; anyone else gets it through a project group.
- Removing someone needs the remove members permission.
- Transfer ownership needs the transfer ownership permission, which in practice means the current owner.
- Without a given permission the page still opens — the matching button simply is not there.
- Only people who have accepted their workspace invitation can be added. A teammate who is still shown as Pending on Admin → Members cannot be picked here yet.
Review who is on the project
-
Open the project from Projects, then choose Members under ACCESS in the project sidebar.
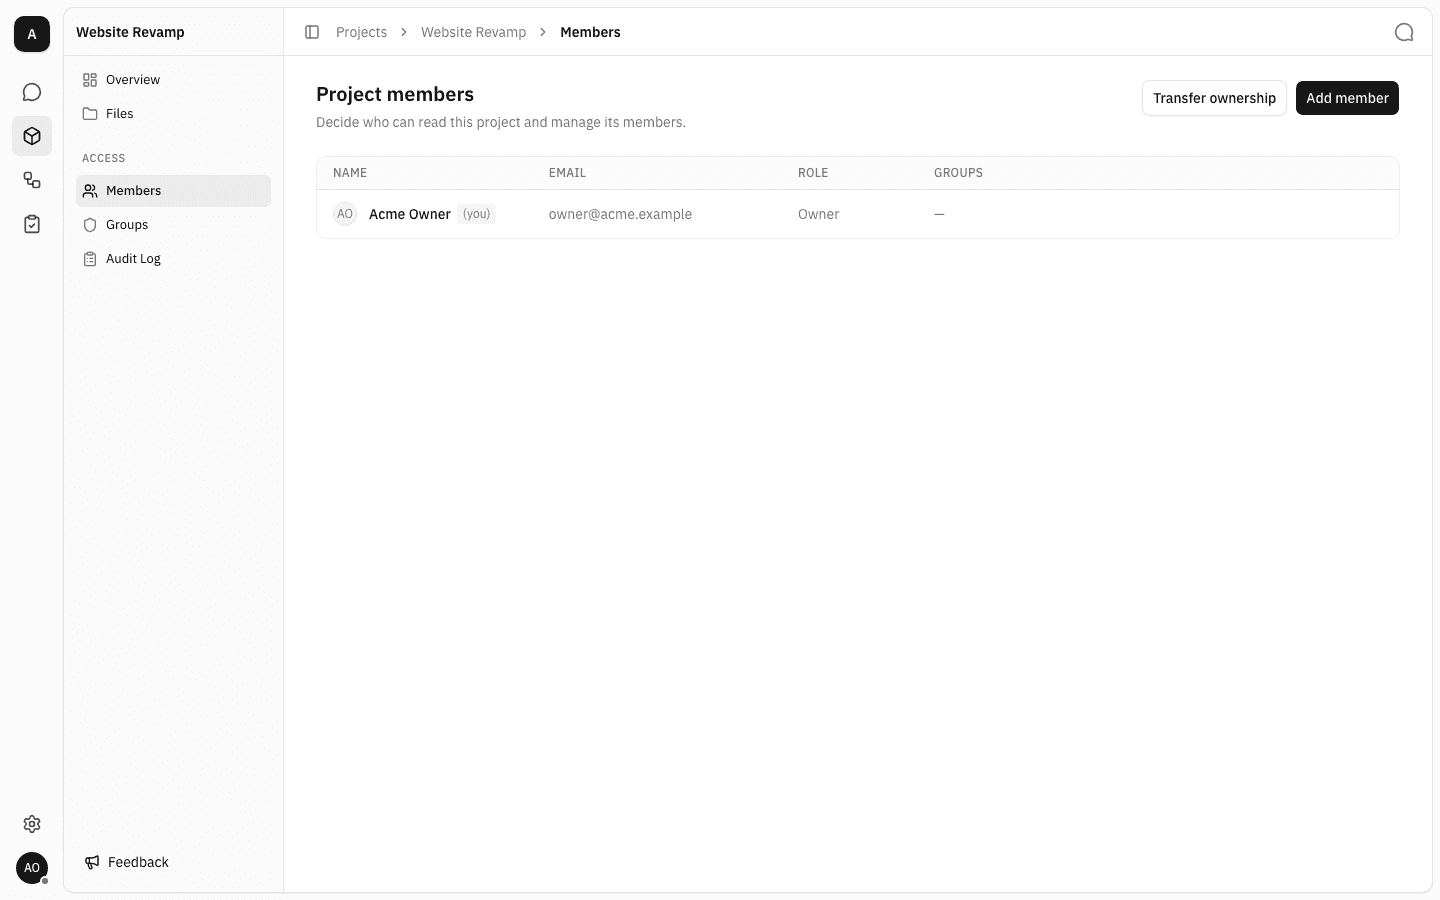
The table has one row per person and four columns:
- Name — the teammate's account name, with your own row marked (you).
- Email — the address on their workspace account.
- Role —
OwnerorMember. - Groups — the project groups they belong to, or
—when they are in none.
A Remove button appears at the end of a row only when you have permission to remove that person, and never on your own row.
Add a workspace member
-
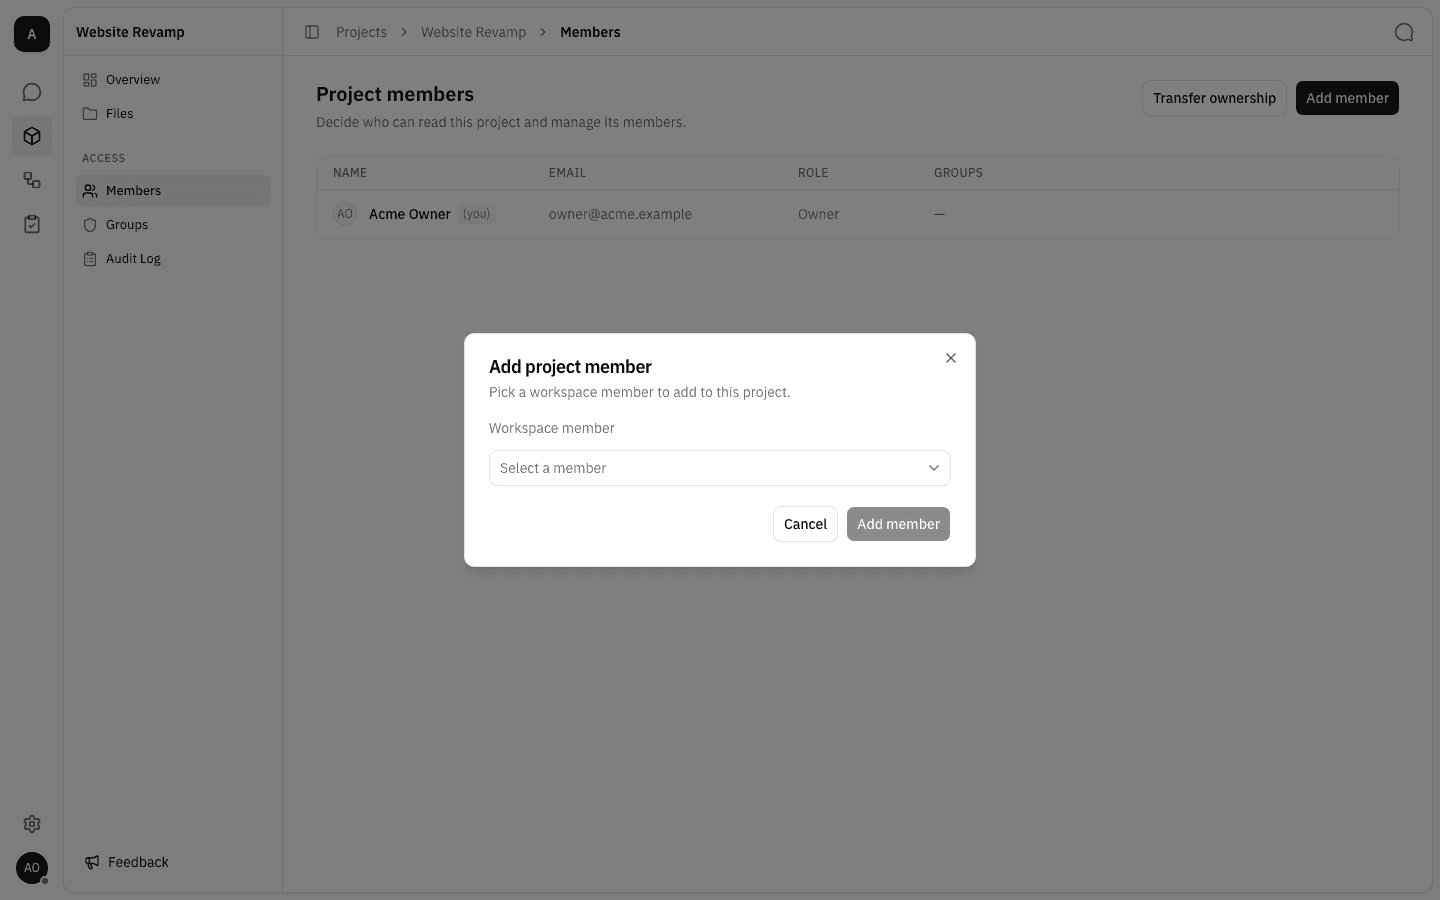
Click Add member. The dialog does one thing: it picks somebody who is already in the workspace. There is no invite box here — people join the workspace first, on Admin → Members, and only then can be put on a project.
-
Open the Workspace member dropdown. It lists every accepted workspace member who is not on the project yet, each as name — email. Pick one and click Add member; they appear in the table straight away with the role Member.
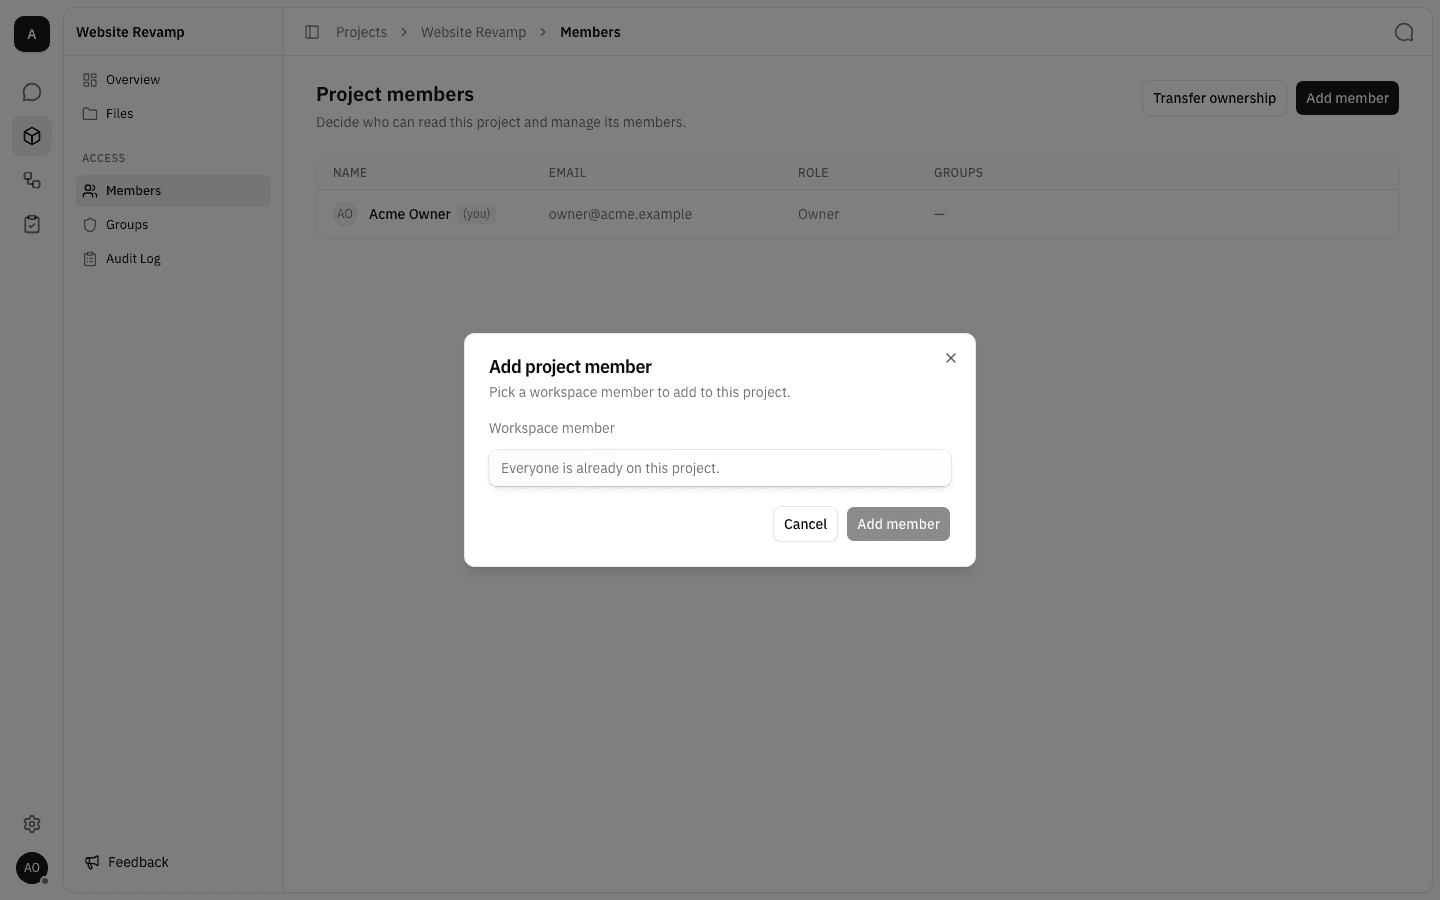
The list can come up empty
The dropdown says "Everyone is already on this project." when there is nobody left to add — which is also what you see in a workspace whose only accepted member is you, because outstanding invitations are not offered here. Get the teammate to accept their workspace invitation first, then reopen this dialog.
Transfer ownership
-
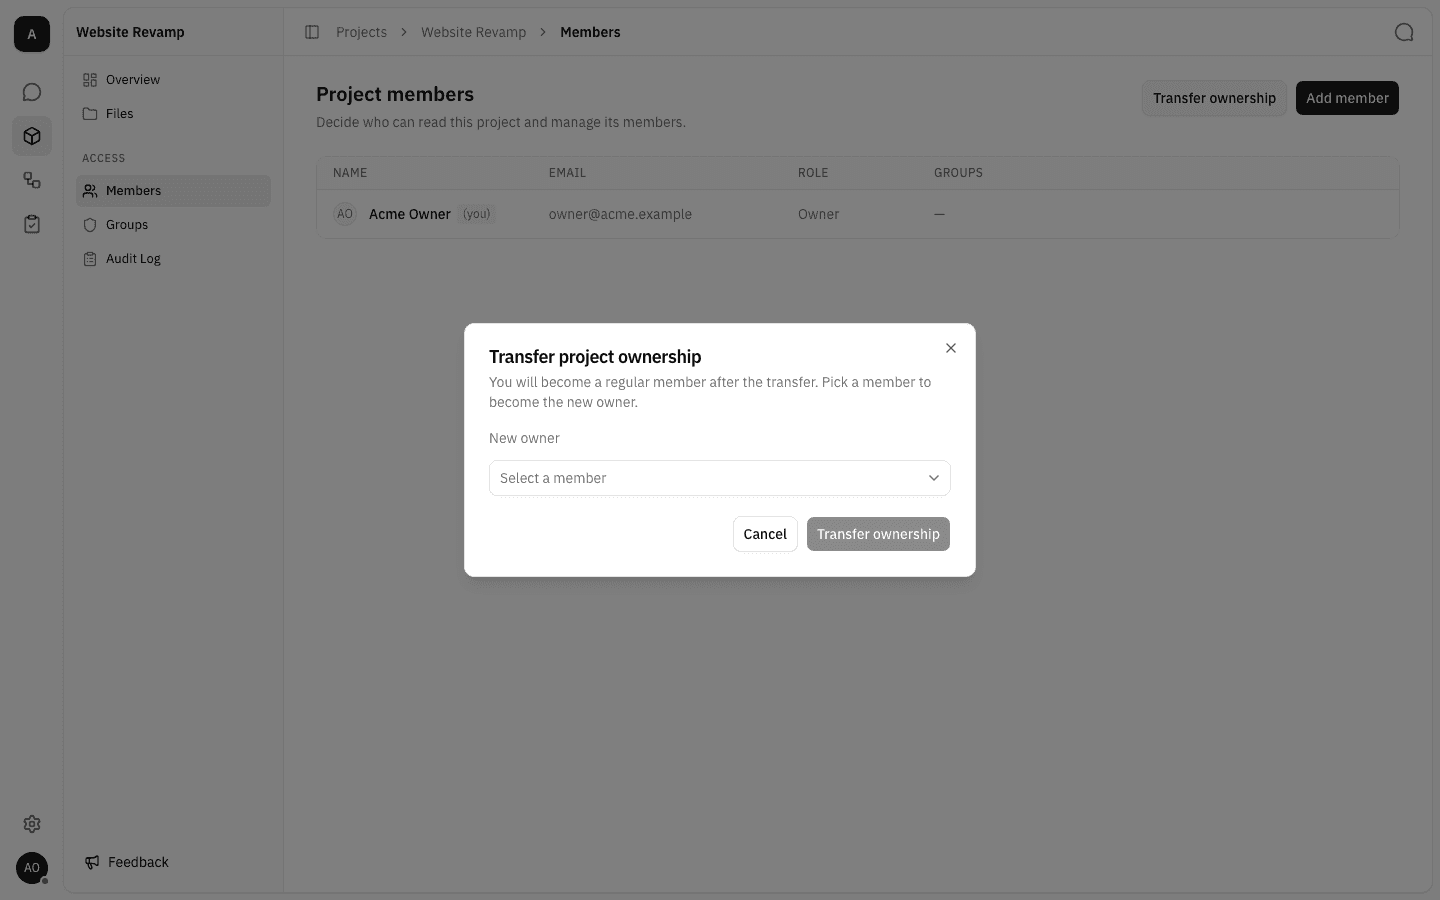
Click Transfer ownership. The dialog warns you what the swap costs: you drop to a regular Member as soon as it goes through, so make sure the person you pick is one you trust with the project.
-
Open New owner and pick the person taking over — the list holds every project member except you. Click Transfer ownership to confirm. The table then shows them as
Ownerand you asMember.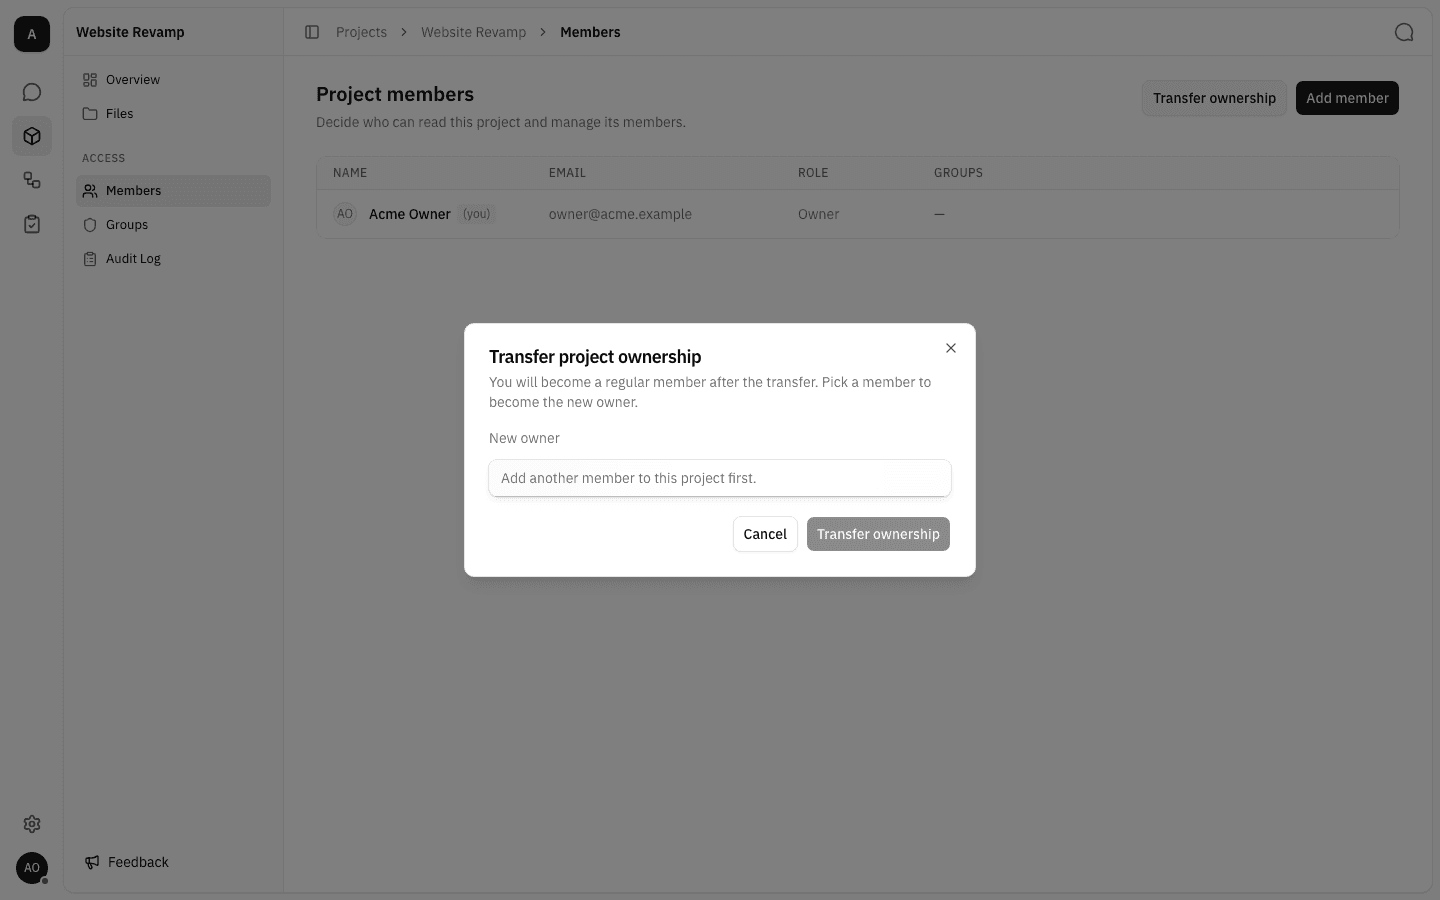
On a project that has no other members the dropdown reads "Add another member to this project first." and the confirm button stays disabled — ownership can only move to someone who is already on the project.
See a member's project groups
-
Once the project has groups and people have been put in them, the Groups column stops showing
—and lists a chip per group instead. Someone in several groups gets several chips, and their access is the union of all of them.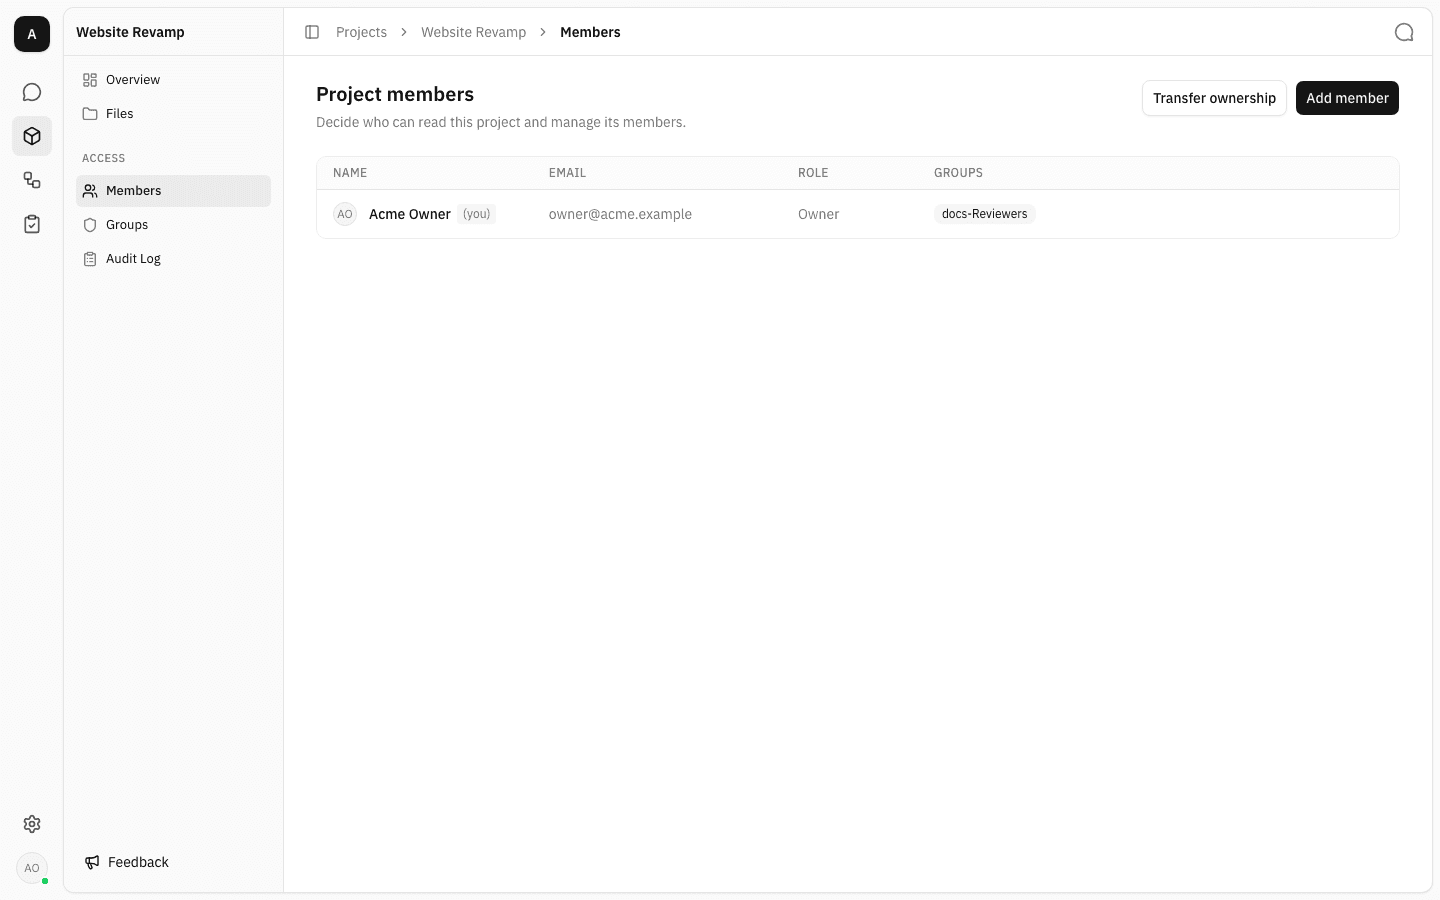
The column is read-only. Group membership is edited on the project's Groups page, not here.
Remove a member
-
Click Remove at the end of the person's row. A confirmation dialog headed Remove <name>? explains that they will lose access to the project and that you can add them back later.
-
Click Remove member to confirm. Their row disappears and the project stops appearing in their Projects list.
Removing somebody from a project does not remove them from the workspace — they keep their workspace account and every other project they are on. To take their workspace access away entirely, use Admin → Members instead.
Notes
- You cannot remove yourself, and no row offers Remove for the current owner. To step away from a project, transfer ownership first and ask the new owner to remove you.
- Workspace owners and admins see every project whether or not they are on its member list, so they do not need to be added to read one.
- Roles are not editable from the table. The only way the role column changes is a transfer of ownership; there is no per-row role dropdown.
- The member list drives the project's file access. Anyone not on this list cannot see the project's files, and the project's documents stay out of their chat answers.
Project files
Upload and organize the documents that belong to one project, visible only to that project's people, and ask the assistant about them.
Project groups & permissions
Bundle project members into groups and grant them project-tier permissions — file access, member management and project settings — in one place.