Workspace settings
Rename a workspace, set its custom instructions, and permanently delete it from Admin → Settings.
Admin → Settings is where a workspace is managed as a whole: what it is called, the standing instructions its assistant follows, and — for owners — the option to delete it for good. Everything on this page applies to the workspace you are currently in, not to your personal account.
Prerequisites
- Renaming a workspace and editing its custom instructions needs the workspace owner or admin role. Members see only the message "Workspace name and lifecycle settings are restricted to admins and owners."
- Deleting a workspace is restricted to the workspace owner — the delete section is not rendered at all for anyone else.
Open workspace settings
-
Open Admin from the top navigation, then Settings under Workspace at the bottom of the sidebar.
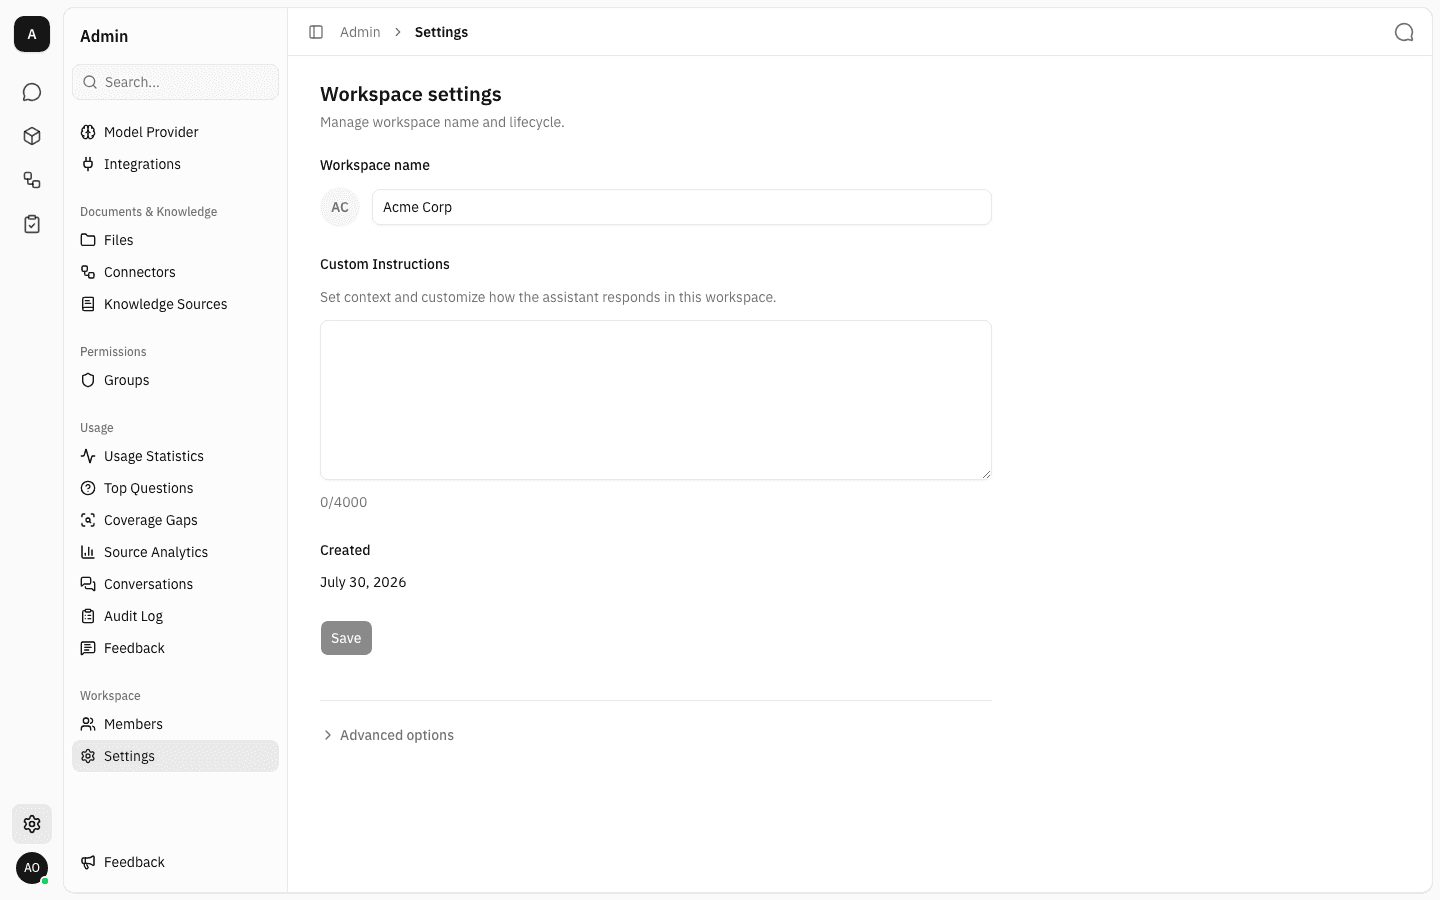
The page has four things on it:
- Workspace name — the name shown in the workspace switcher and everywhere the workspace is referenced. The circle to its left is the workspace avatar, built from the name's initials.
- Custom Instructions — standing guidance for the assistant in this workspace, up to 4,000 characters.
- Created — the date the workspace was created. Read-only.
- Advanced options — a collapsed section holding the delete flow.
Save stays greyed out until you actually change something.
Rename the workspace
-
Type the new name into Workspace name. As soon as the value differs from the saved one, Save becomes active and a Cancel button appears next to it.
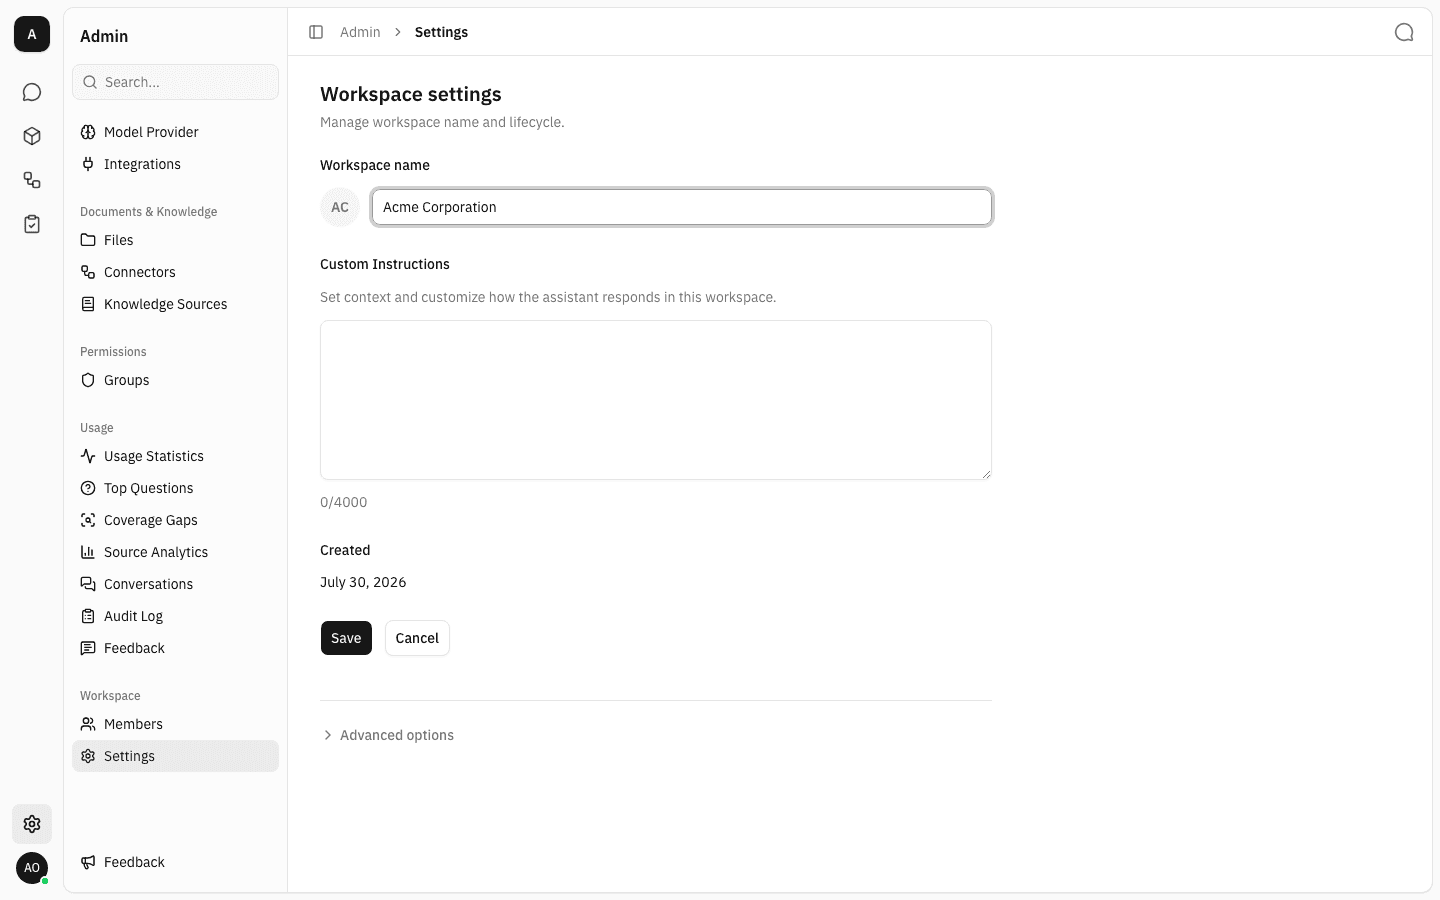
The name must not be empty and must be 120 characters or shorter — clearing the field leaves Save disabled.
-
Click Save. The new name is applied immediately: Cancel disappears, Save goes back to its inactive state, and the workspace switcher and avatar initials pick up the new name.
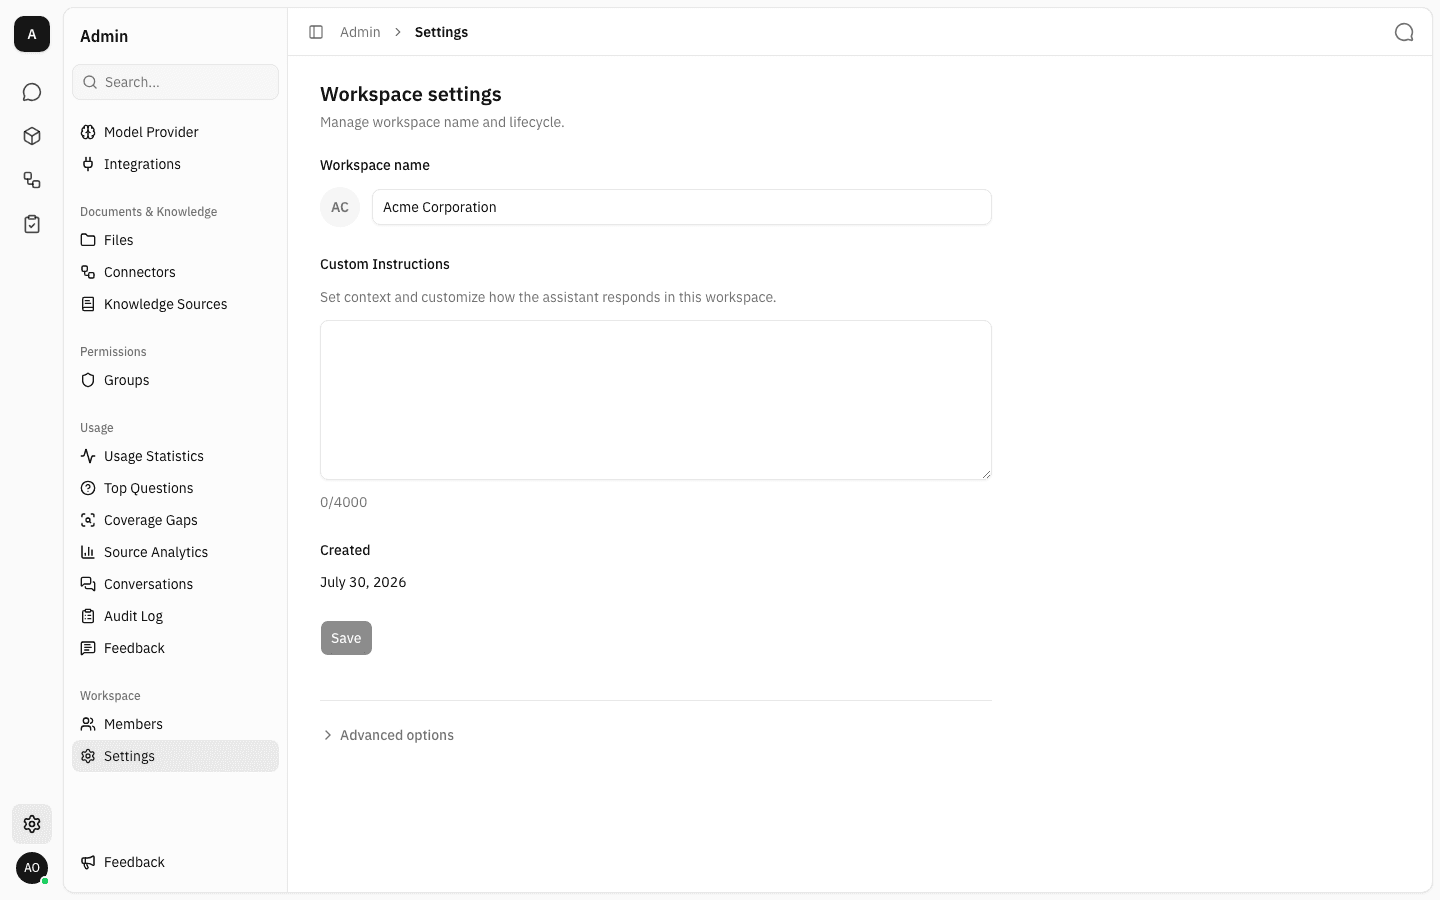
Cancel discards your edits and puts the last saved values back, so it is the safe way out if you change your mind before saving.
Set custom instructions
-
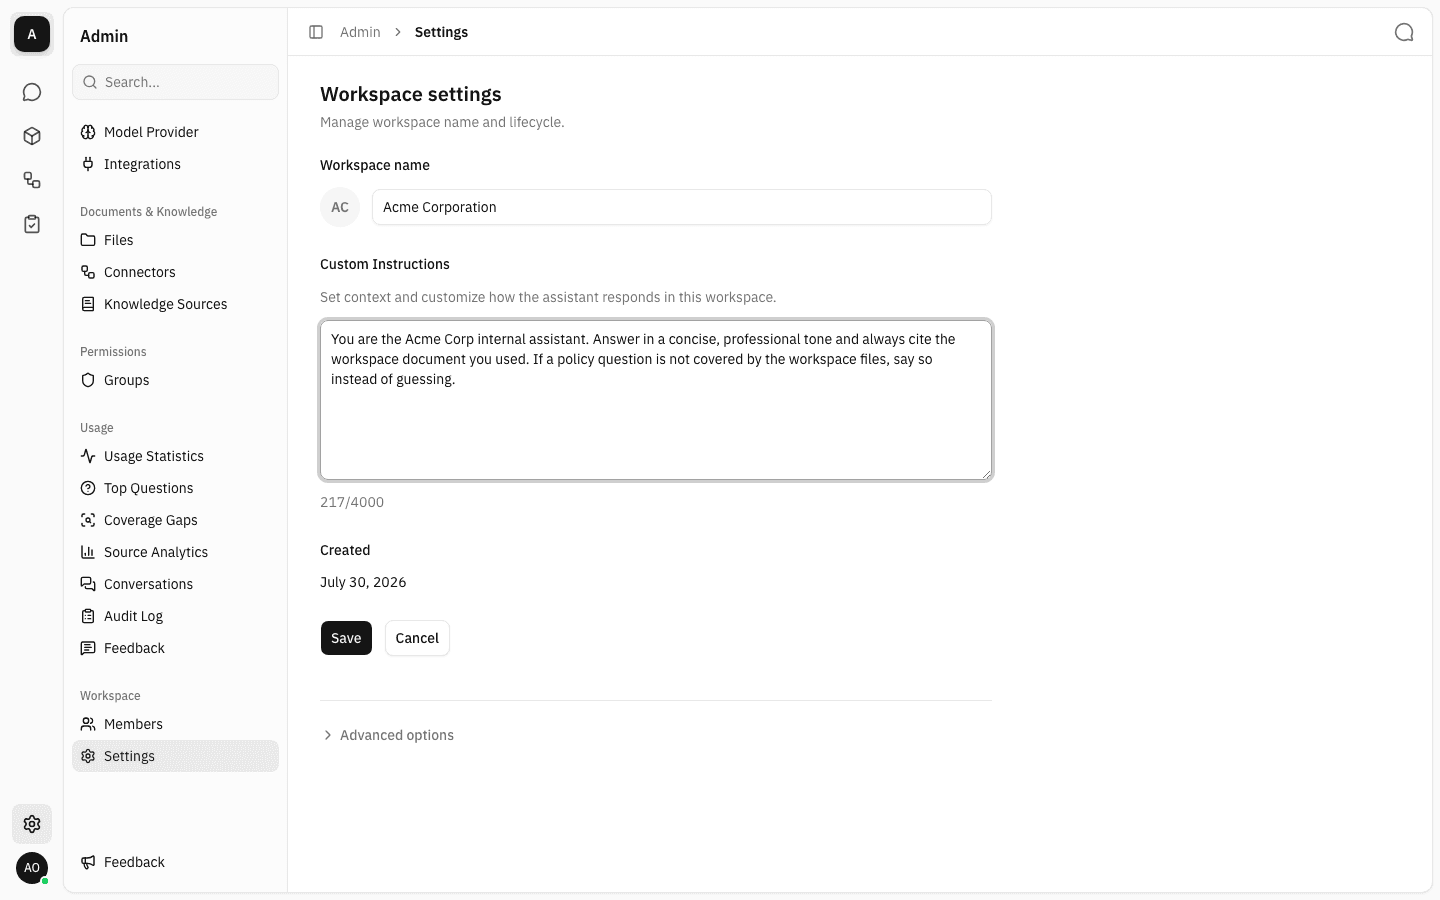
Type the guidance you want the assistant to follow into Custom Instructions. The counter under the box tracks how much of the 4,000 character budget you have used, and the field stops accepting input at the limit.
-
Click Save. The name and the instructions share one Save button, so a single click stores whichever of the two you changed.
Delete the workspace
Deleting a workspace removes it and everything in it — projects, files, members and chat history. It cannot be undone, so the flow is deliberately awkward: hidden behind a disclosure, and gated on typing the workspace name exactly.
-
Click Advanced options at the bottom of the page. The section expands to show the warning, a confirmation field and a Delete workspace button that is disabled while the field is empty.
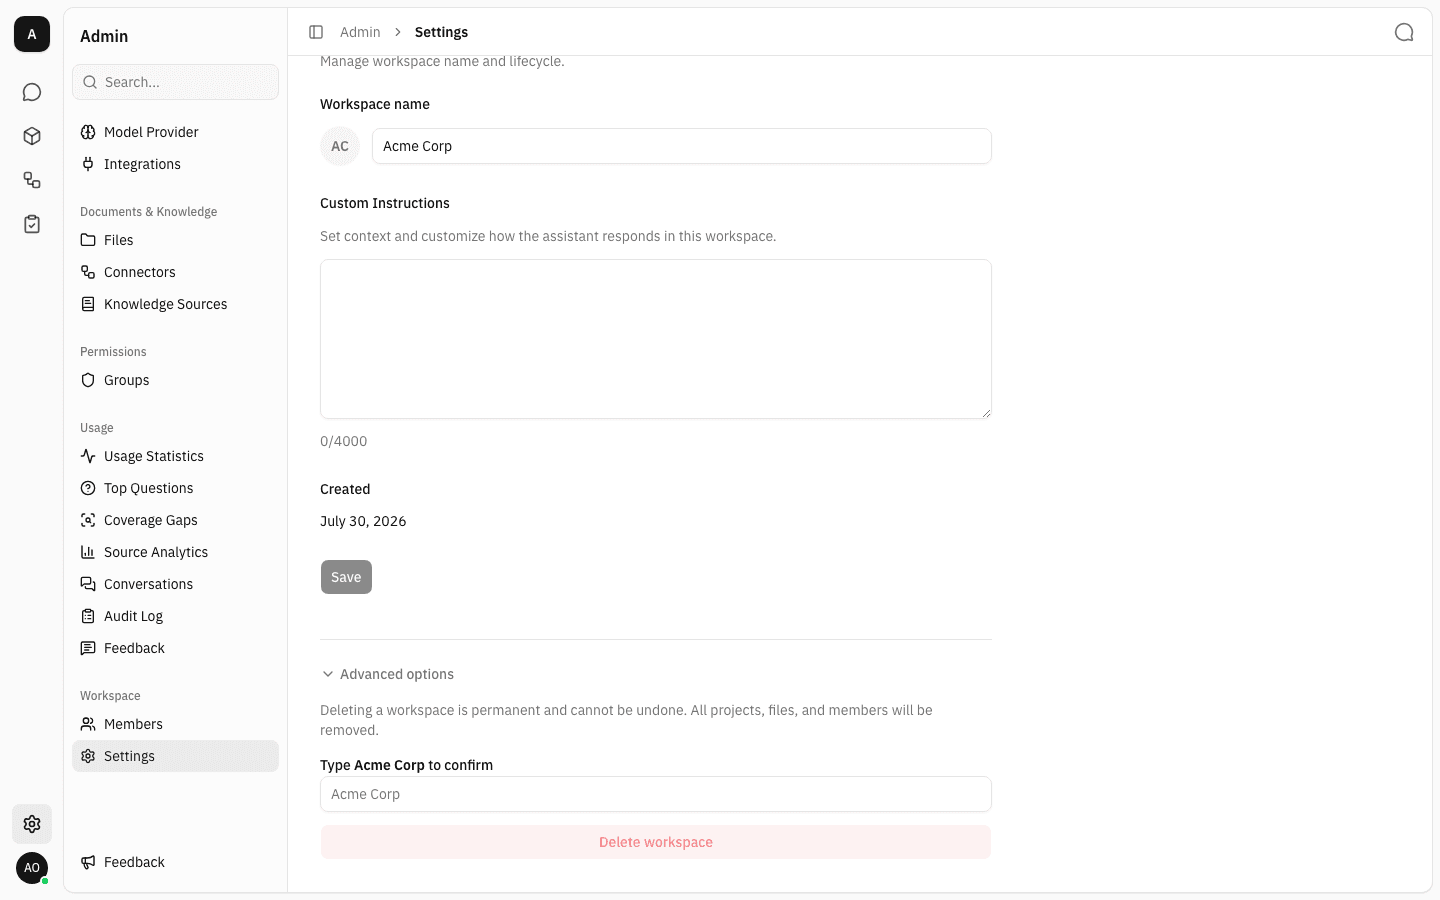
Collapsing the section again clears whatever you typed.
-
Type the workspace's name into the confirmation field, exactly as it is written above the box — the match is exact and case-sensitive. Once it matches, Delete workspace turns active.
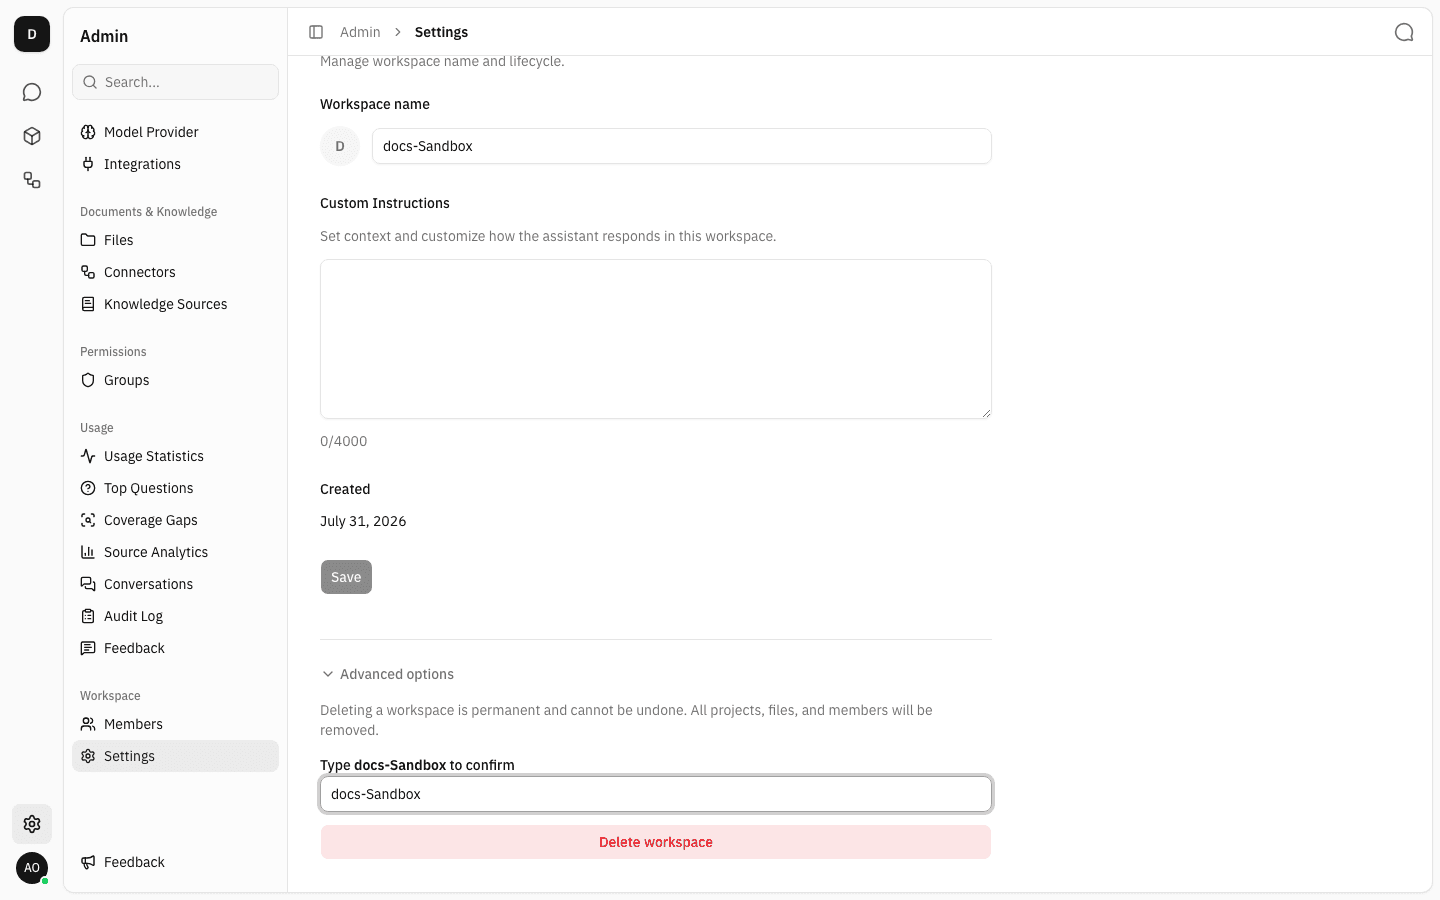
-
Click Delete workspace. The workspace is deleted, you are switched to one of your remaining workspaces, and the deleted one no longer appears in the workspace switcher.
Notes
- Renaming a workspace changes only its display name. Its internal address stays the same, so existing links into the workspace keep working.
- The Created date is informational only and cannot be edited.
- If a save fails, the error is shown in red under the field you were editing and your edits are kept, so you can retry without retyping.
- The screenshots of the delete flow use a throwaway workspace, so the name in the confirmation field differs from the one in the earlier steps.